What is 3D Preview?
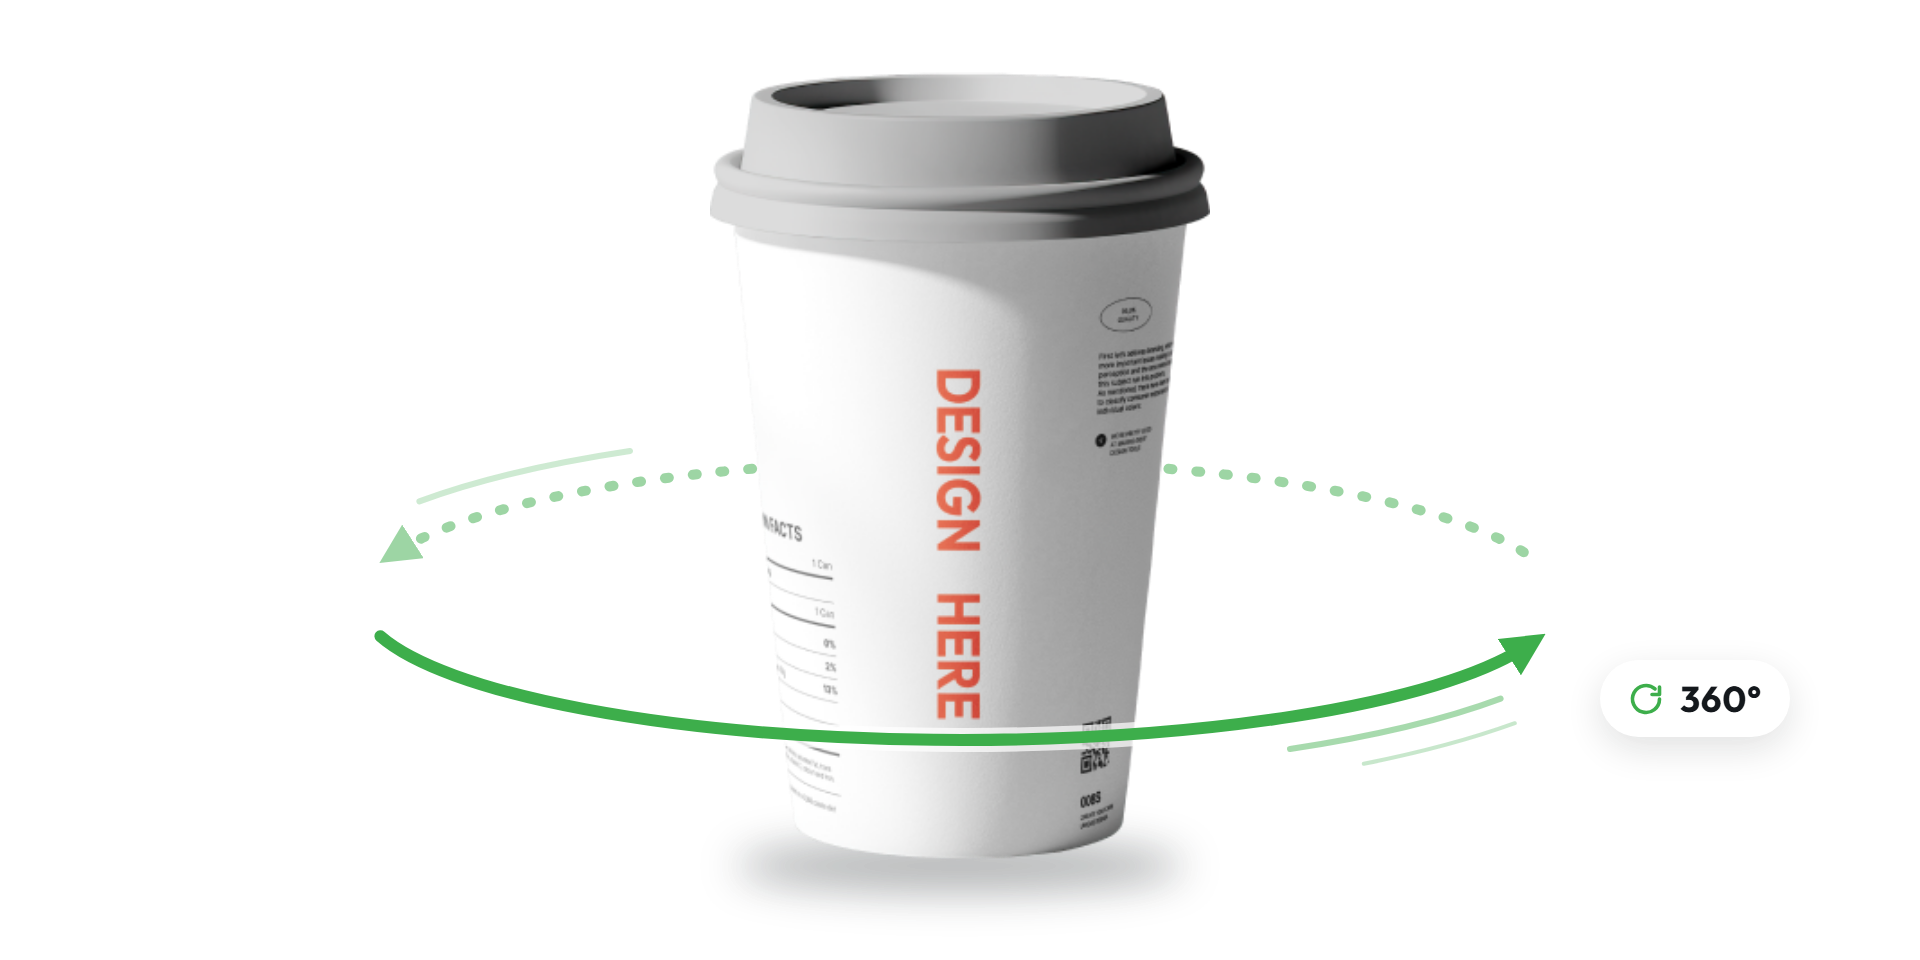
3D Preview shows a customer's design on the product it will be printed on, instead of as flat pages. You link a design to a 3D Scene, and the editor's preview shows the customer's pages on that product. Once they save, your product page gallery shows it too.
A scene can be any of four kinds of product:
3D products:
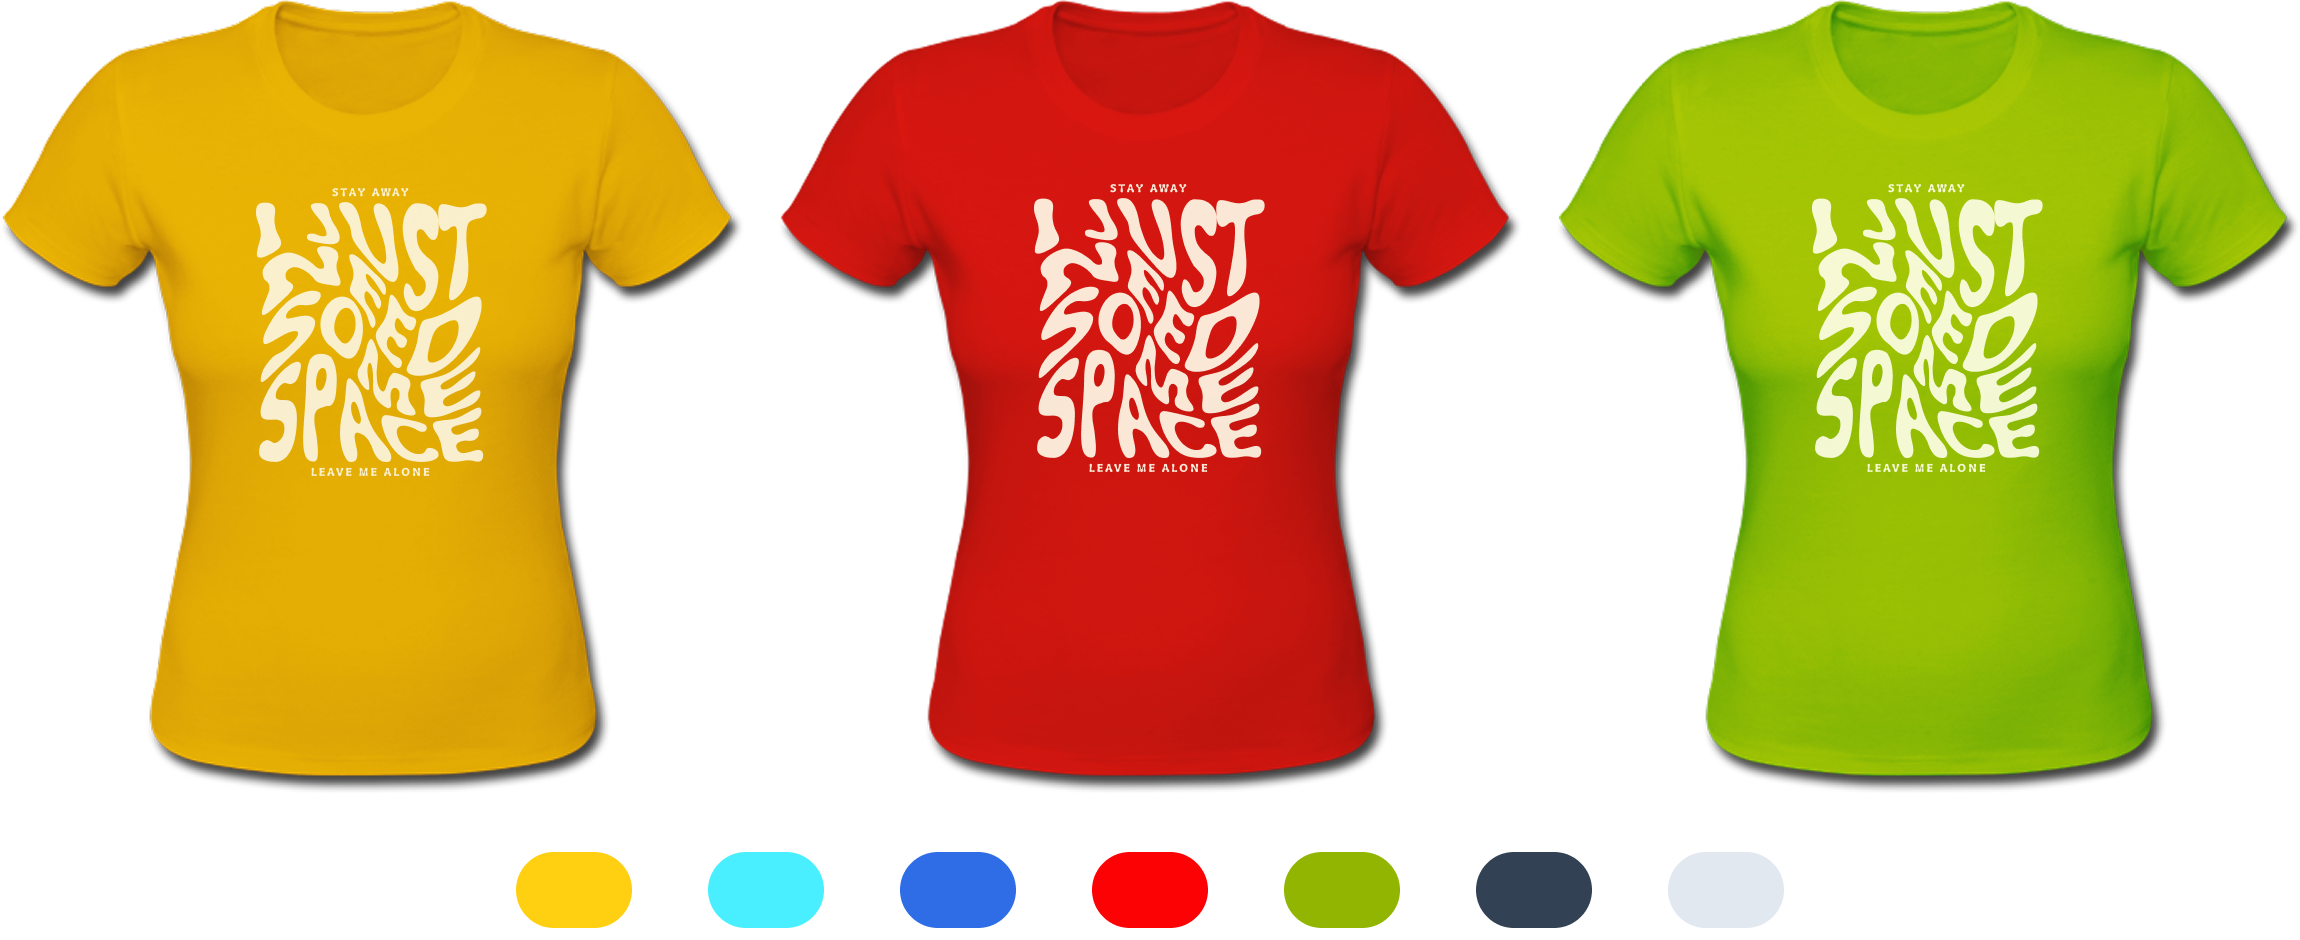
Mugs, bottles, apparel and other shaped products, from your own GLB or OBJ model. Each print area shows a page of the design.
Folded leaflets:
Half fold, tri-fold, Z-fold and gate fold leaflets that stand open, with the outside and inside printed.
Booklets:
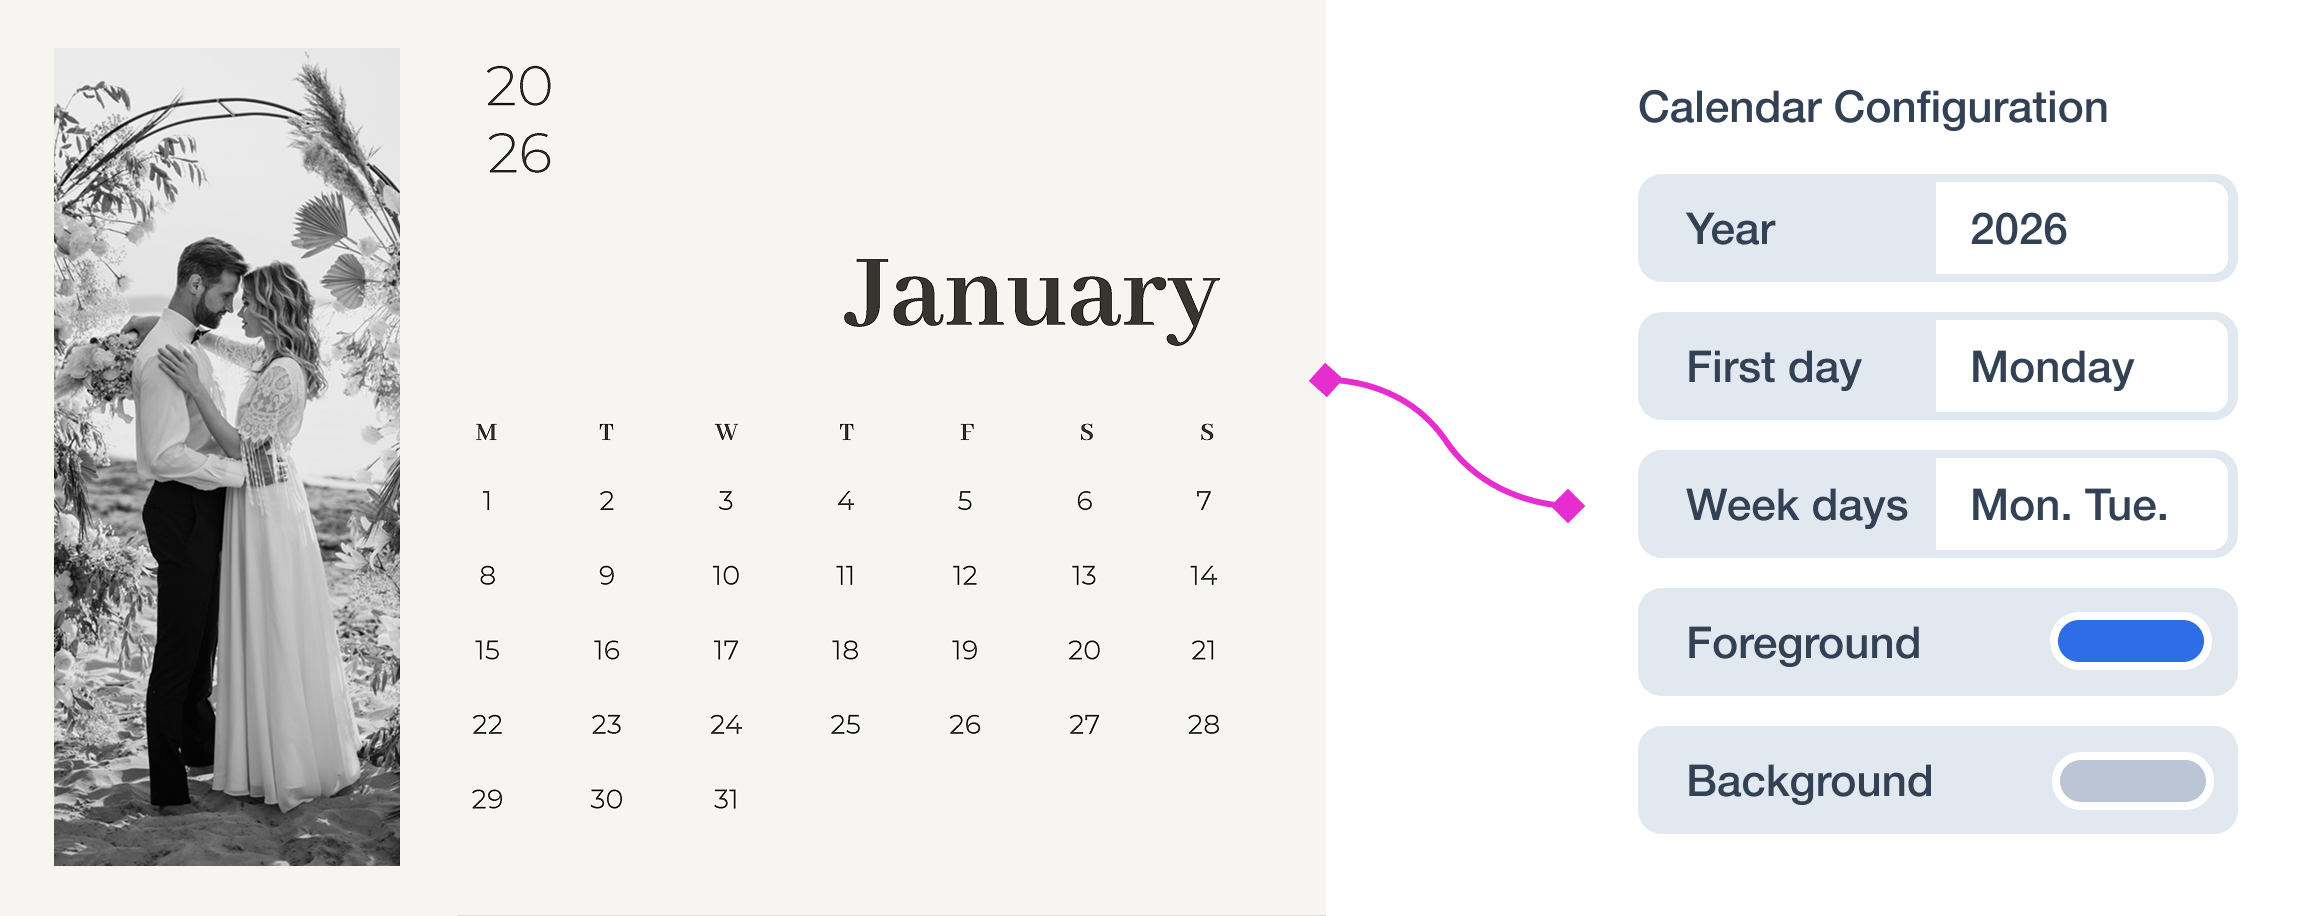
Page-turning booklets, catalogues and wall calendars. Customers click, drag or use the arrow keys to turn the pages.
Flat sheets:
Flyers, postcards and business cards, with rounded corners and painted edges. Customers click the sheet to turn it over.
In the Editor
When the customer clicks Preview, the editor shows their design on the product. A 3D / Pages switch goes back to the flat pages and returns to 3D, and the two stay in step: turning a booklet's page moves the editor to that page, and picking a page in the editor turns the booklet or flips the card to it.
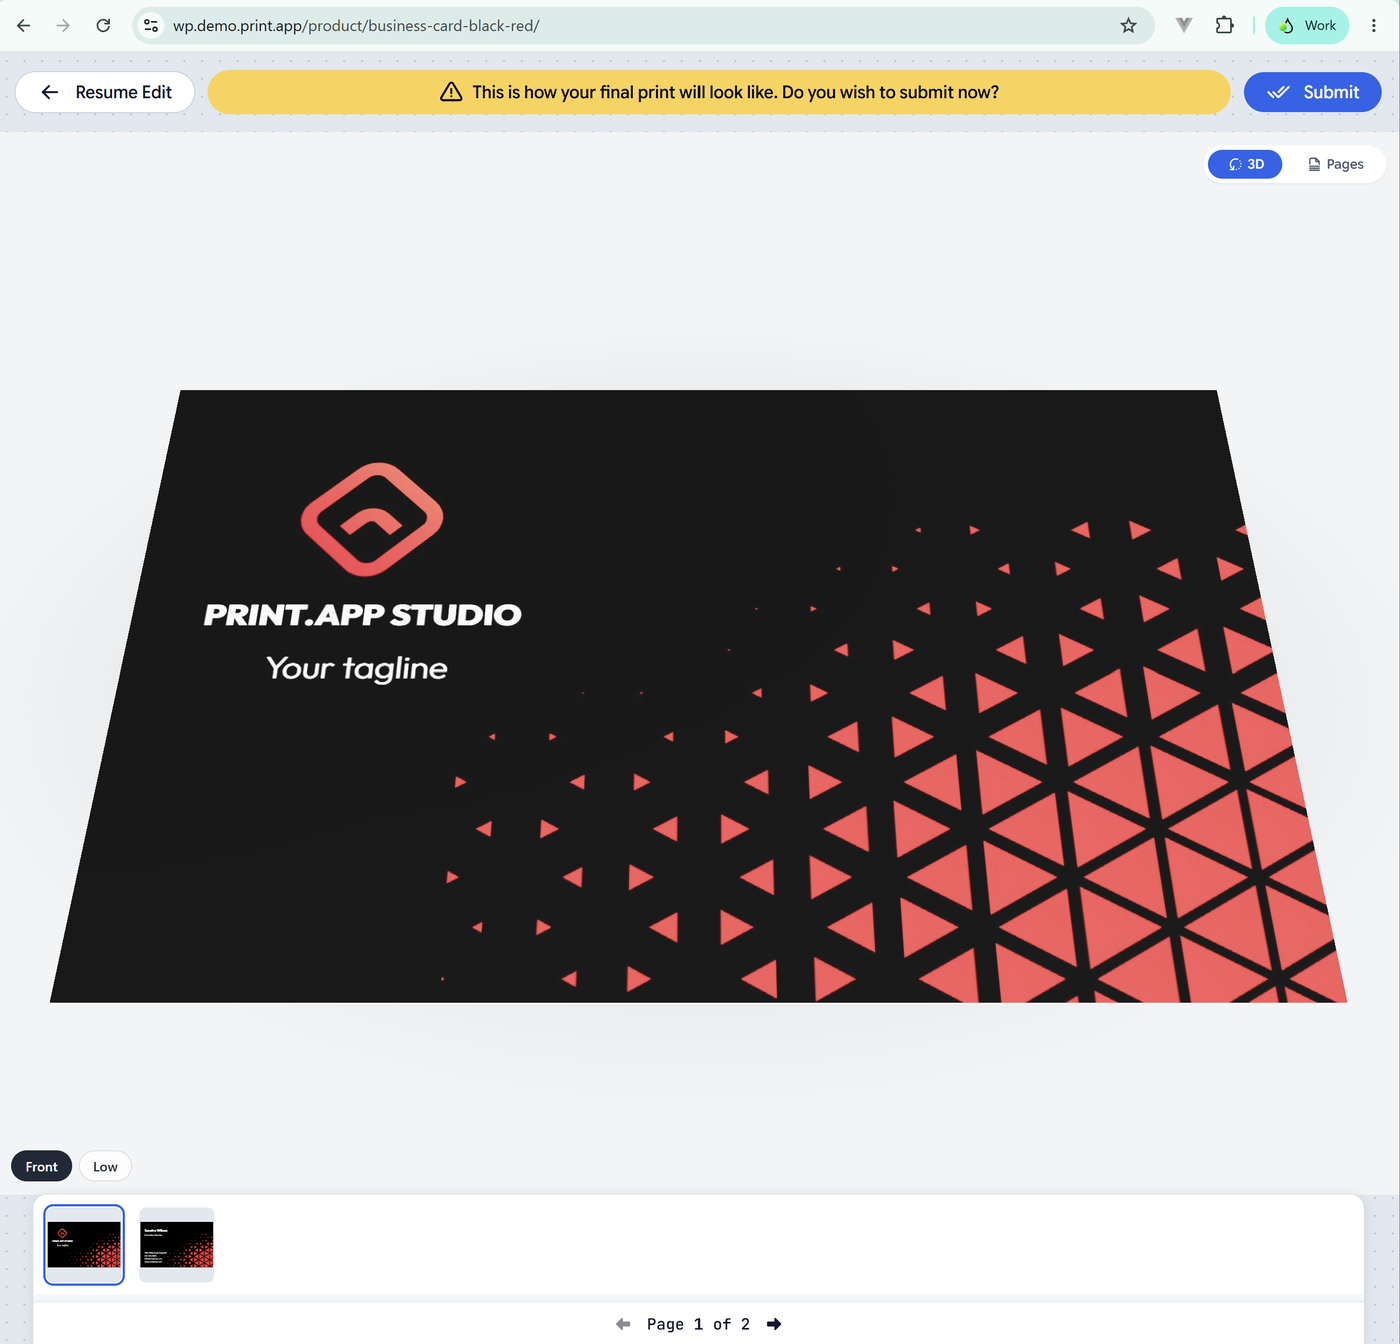
The editor's preview on a business card scene.
On Your Product Page
When the customer saves their design, your product's image gallery shows it on the product, and the thumbnails underneath turn the booklet or flip the card to that page. It works wherever Print.App shows the customer's previews in your product gallery.
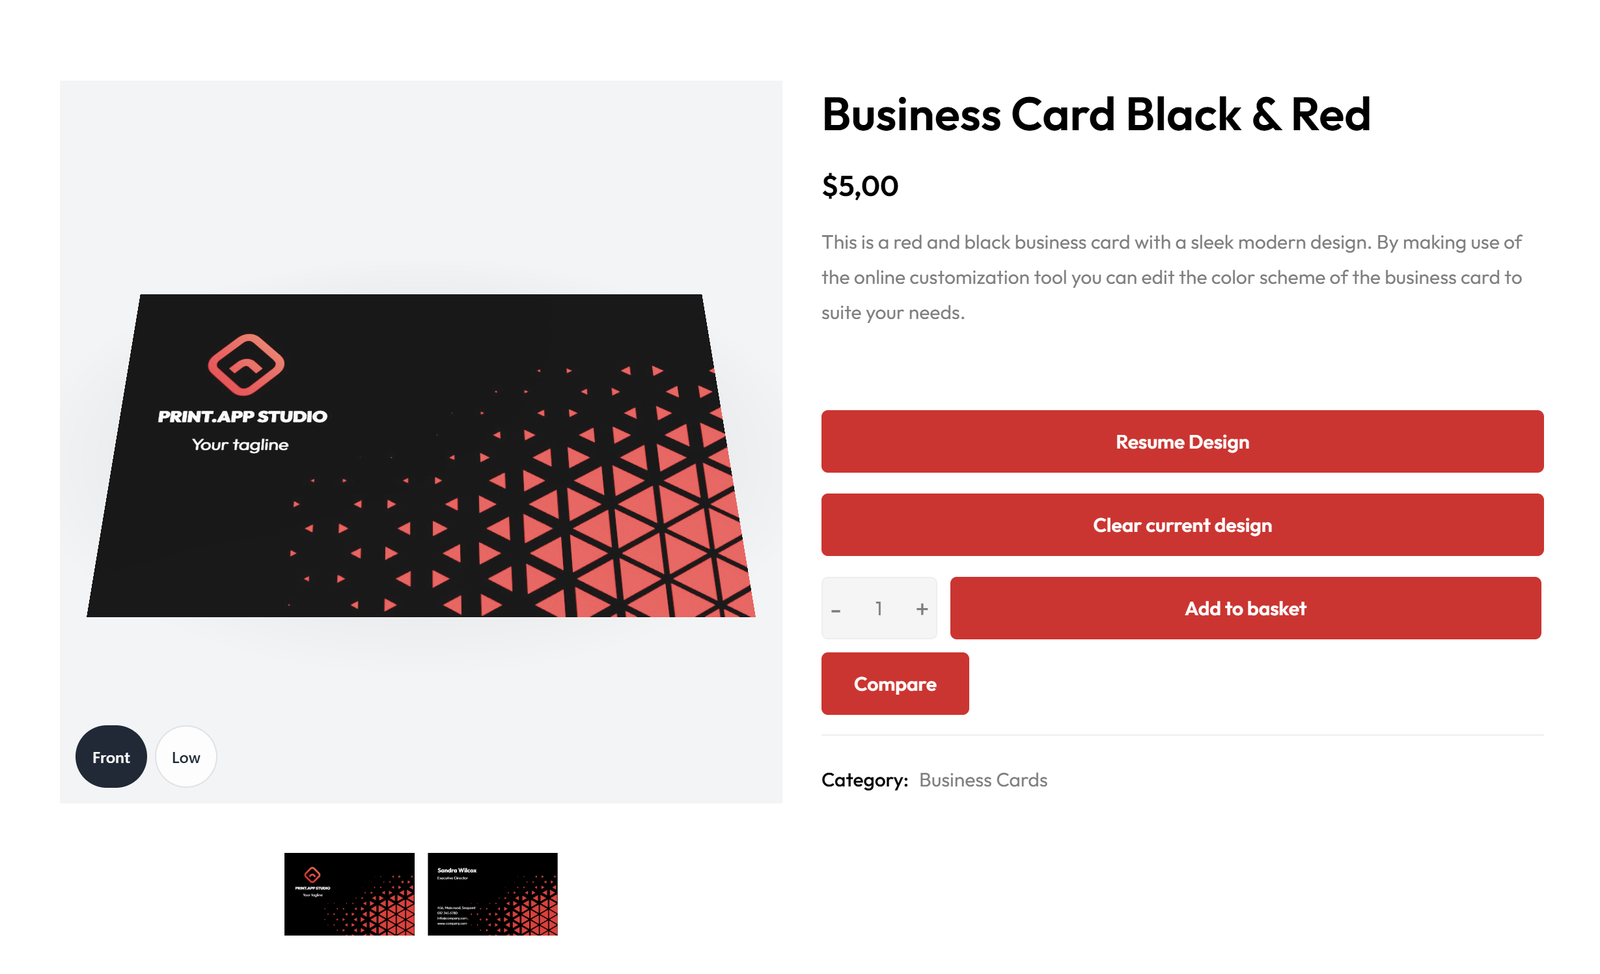
The product page after the customer saves their design.
Why It Matters
Confidence to order:
A flat page doesn't show how a wrap sits on a mug or how a tri-fold opens. Seeing the real product removes the guesswork.
Fewer reprints:
Customers catch a panel on the wrong side or text too close to a fold before they order, not after it's printed.
A better product page:
The customer's own design on the product replaces a generic product photo, right where they decide to add it to the cart.
Your products, as you make them:
Set the paper stock, weight and finish, rounded corners, painted edges and the sides you print yourself, so the preview matches what you ship.
Sides You Supply
Some products have a side the customer doesn't design: a single-sided business card with a printed back, a leaflet with an order form inside, or a booklet with the same back cover every time. Set those sides to a colour or an image in the scene, and the customer's pages fill the rest.
How to Set It Up
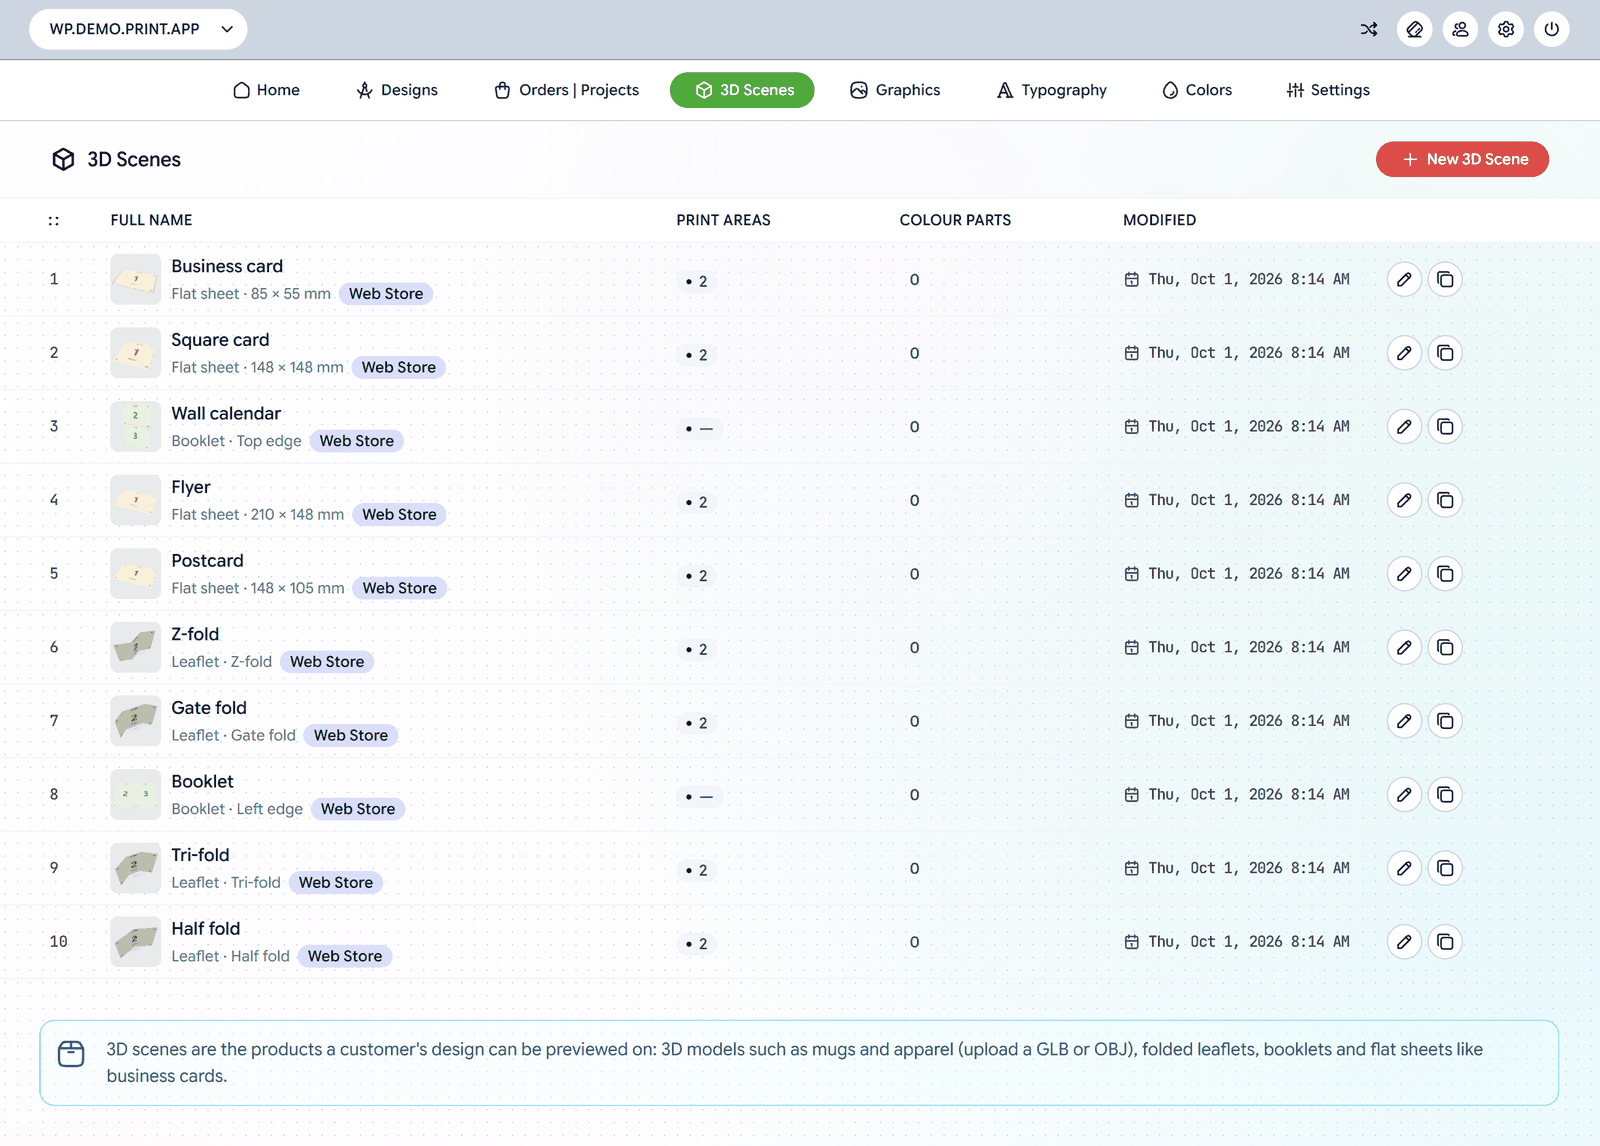
Your admin comes with ready-made scenes for half folds, tri-folds, Z-folds, gate folds, booklets, wall calendars, flyers, postcards, business cards and square cards. Use them as they are, change them, or build your own.
- Open your admin and go to 3D Scenes.
- Pick a ready-made scene, or click New 3D Scene and set one up in the Scene Studio. A numbered test pattern shows which page lands where.
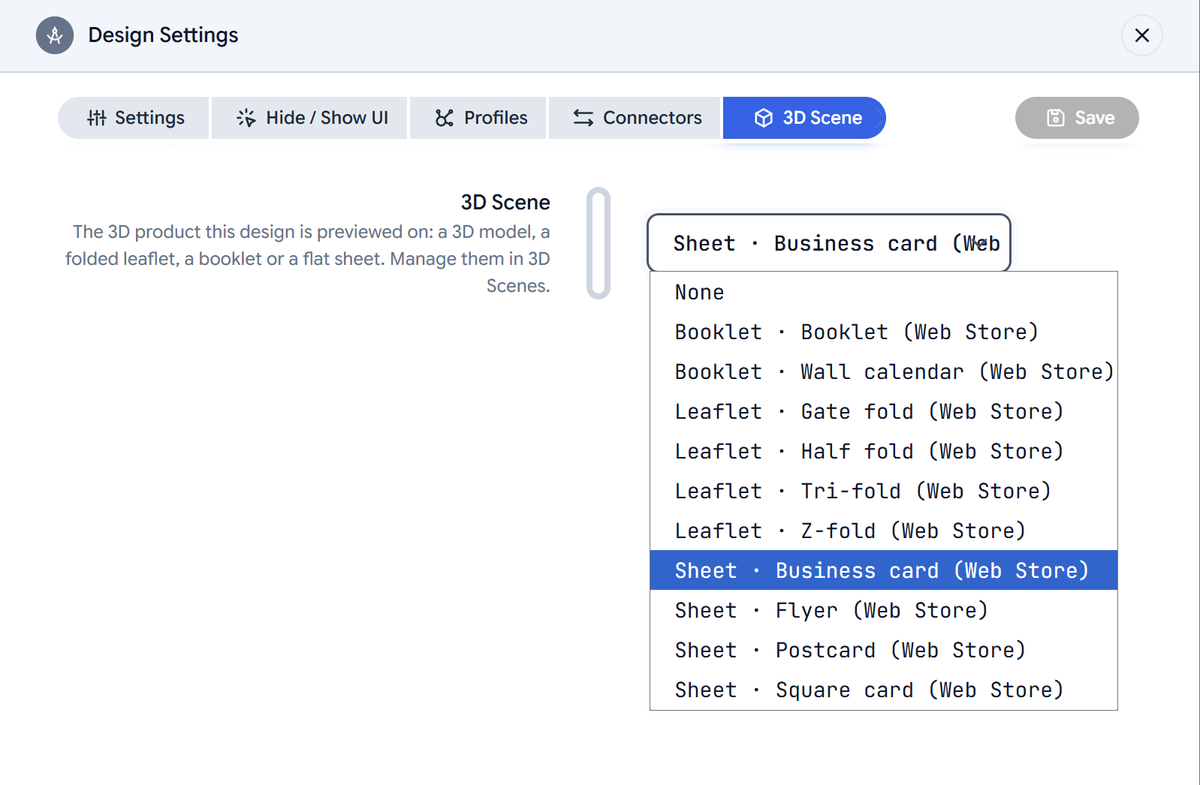
- Go to Designs, click the Configuration button against a design, and choose the scene on the 3D Scene tab.
- Save, then open the design as a customer and click Preview.
Tips for Best Results
- For 3D products, use a GLB file: one file with its materials. Set the model's real size so the print lands at its true size.
- Set the paper's thickness to your stock's real caliper when you use painted edges, so the edge shows as it will in the hand.
- Leaflets, booklets and cards take the size of the customer's design, so one scene works for every size you sell.
- Read the full guide in the 3D Scenes documentation.