Each tool is a switch on the design in the dashboard, under Design tools, and each opens as a popup from the design list. The list stays the only model: a tool changes a design’s artwork or adds a new design, and the sheet re-packs.

Add Text

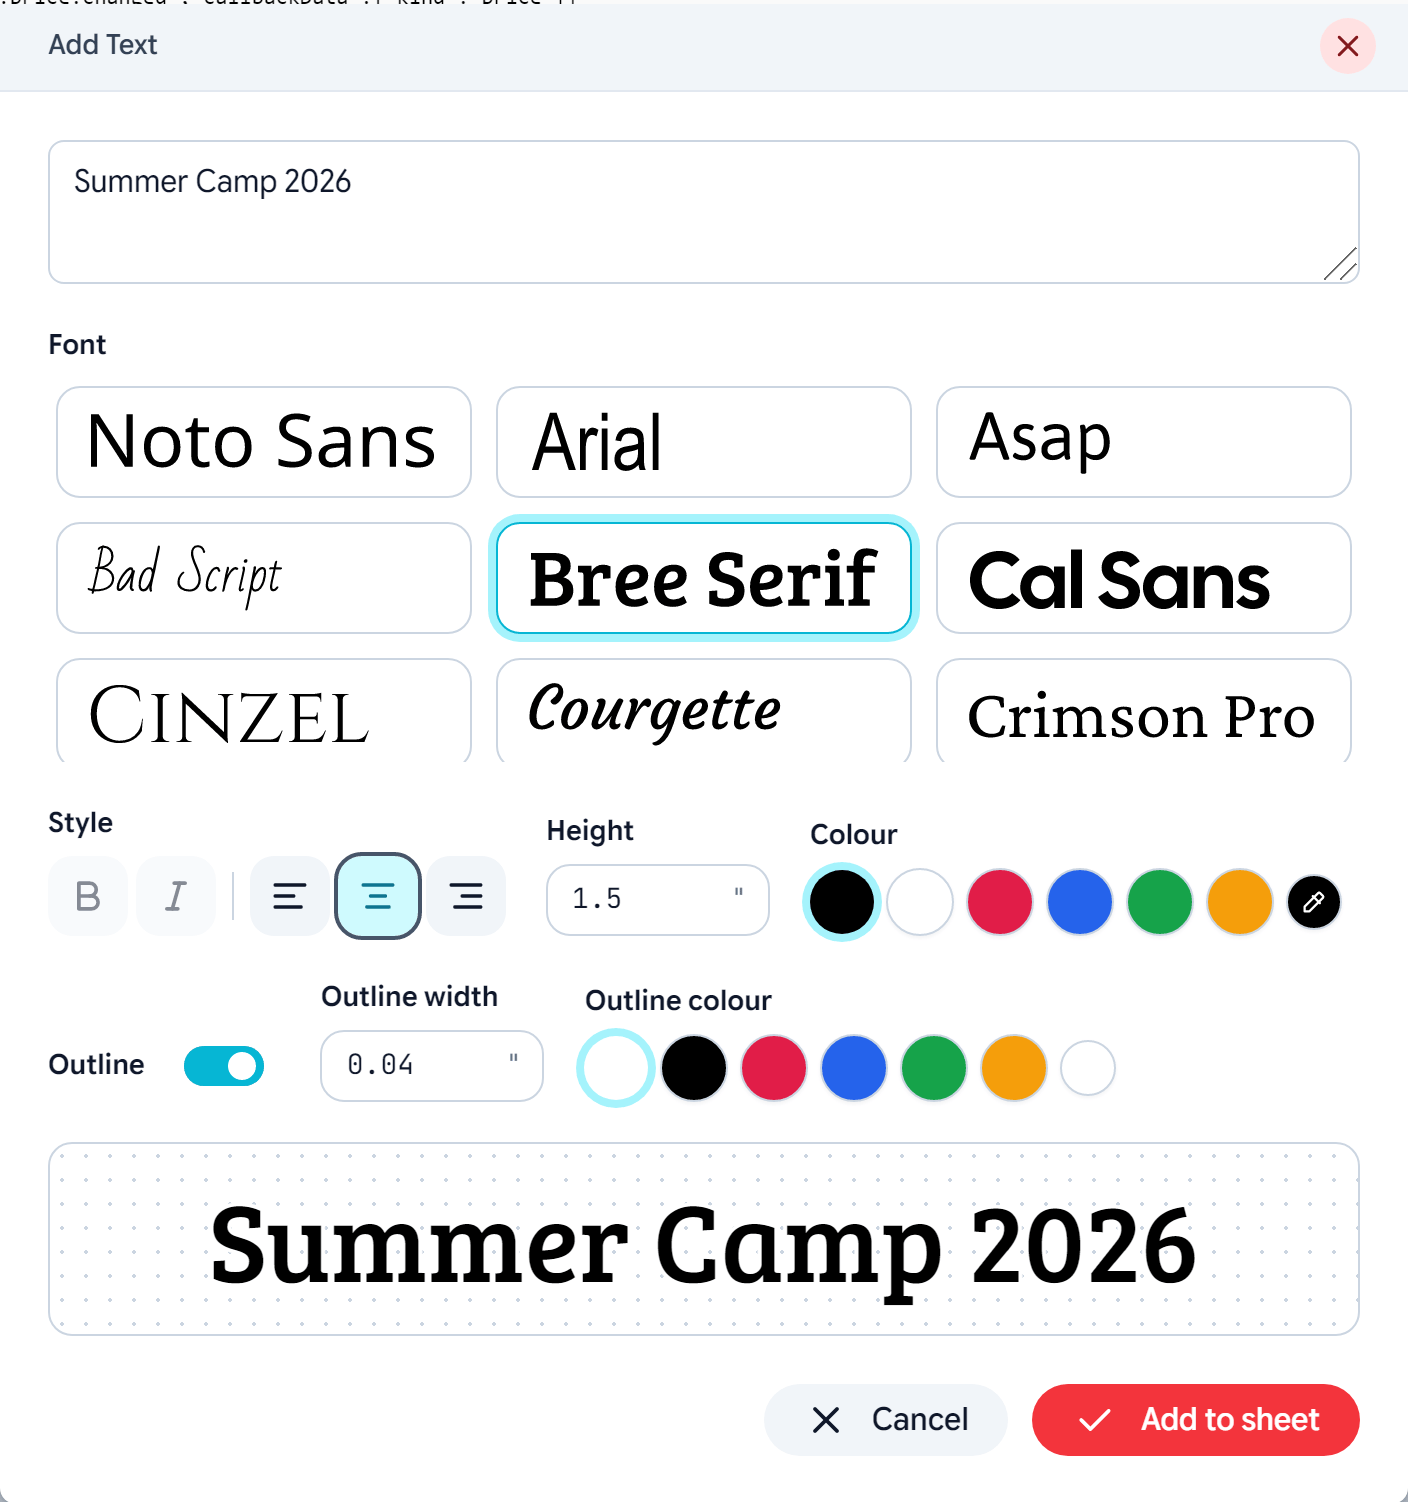
The Add Text popup: text, font tiles, style, height, colour and outline
Customers type their text, pick a font from the tiles (your typography catalog, previewed in each face), choose bold or italic where the family has them, alignment, the printed height, a colour, and optionally an Outline with its width and colour. The preview shows the text in the real font as it will print. Add to sheet places it as a design in the list. The width follows from the text; the height is what was set. Editing the size in the list scales the text; Edit Text reopens the popup with everything as it was. Text is placed on the sheet as vector glyphs, so it has no resolution verdict and prints sharp at any size. The outline is a true keyline behind the letters — the width set is how far it stands outside them.
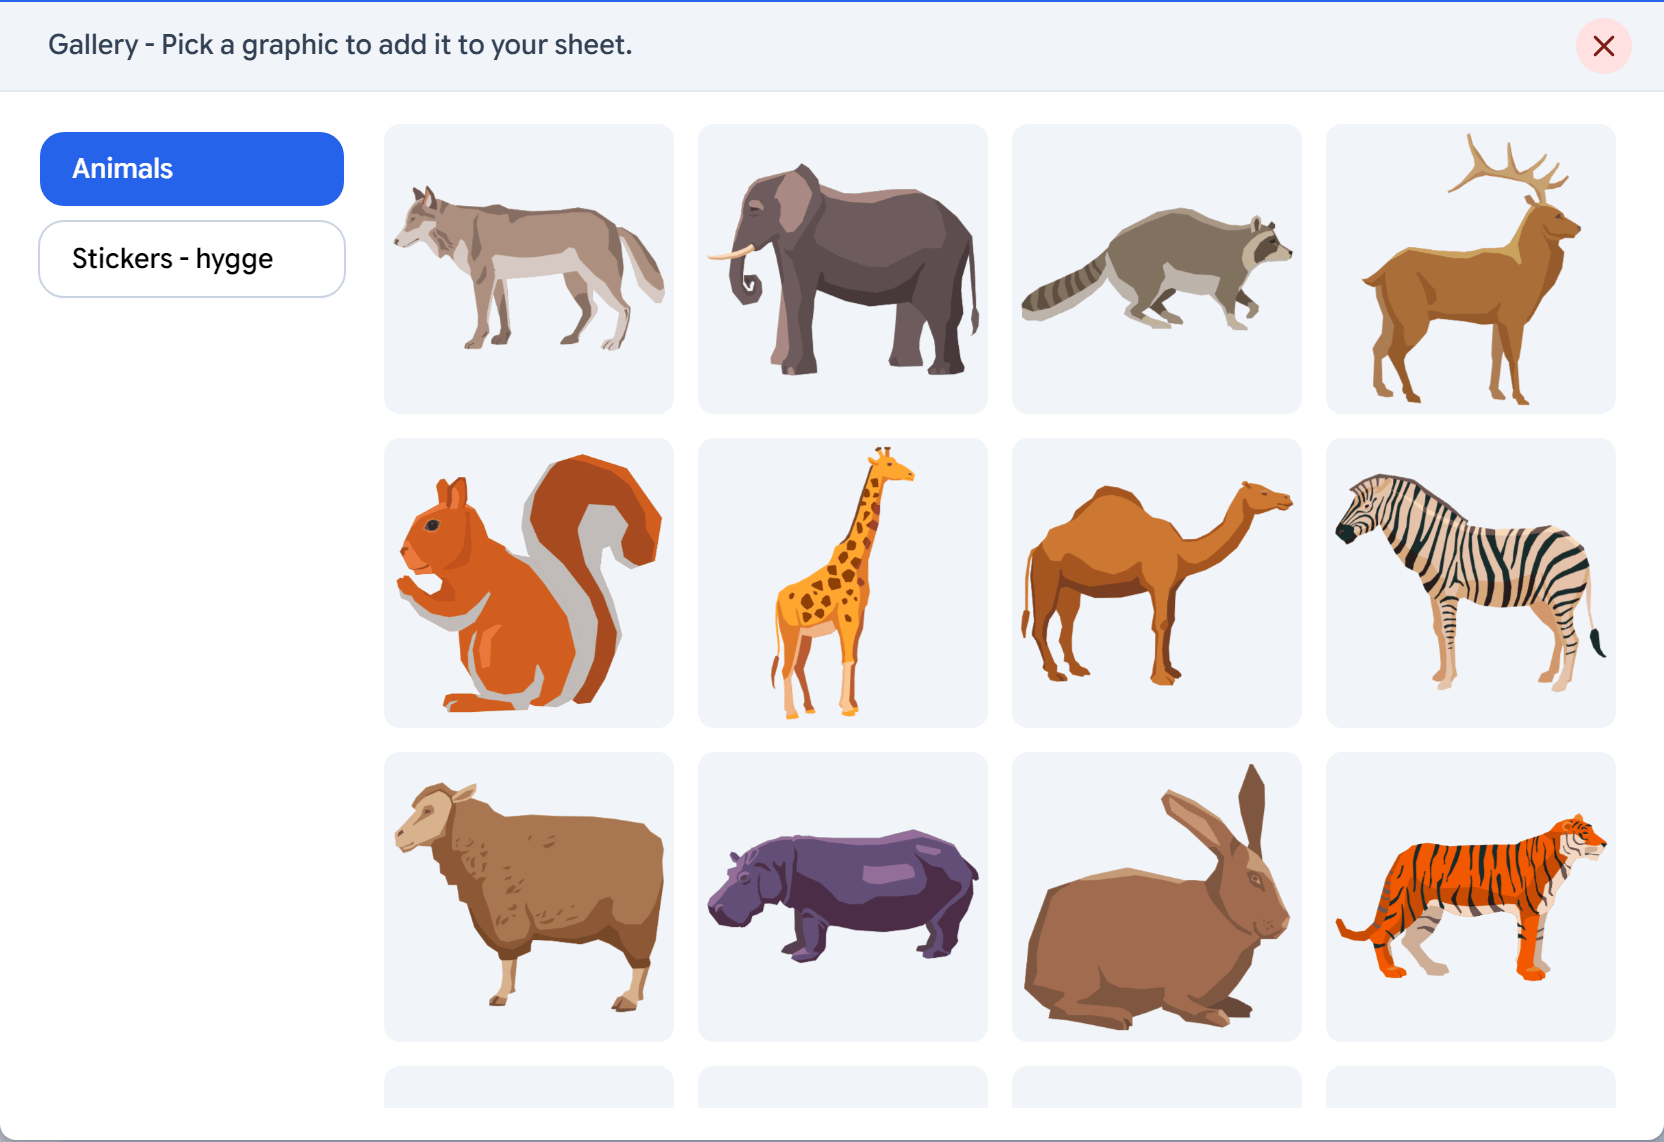
The Gallery popup: folders on the left, graphics to pick on the right
The gallery lists the graphics folders this design’s profiles allow — the same set a regular design’s Graphics panel shows. Picking a graphic adds it to the list:
  • Raster graphics (PNG, JPEG) behave exactly like uploads: resolution check, Edit Image, Outline, Remove background.
  • SVG graphics stay vector. They have no resolution verdict and no image operations, and print from the vector file.

Edit Image
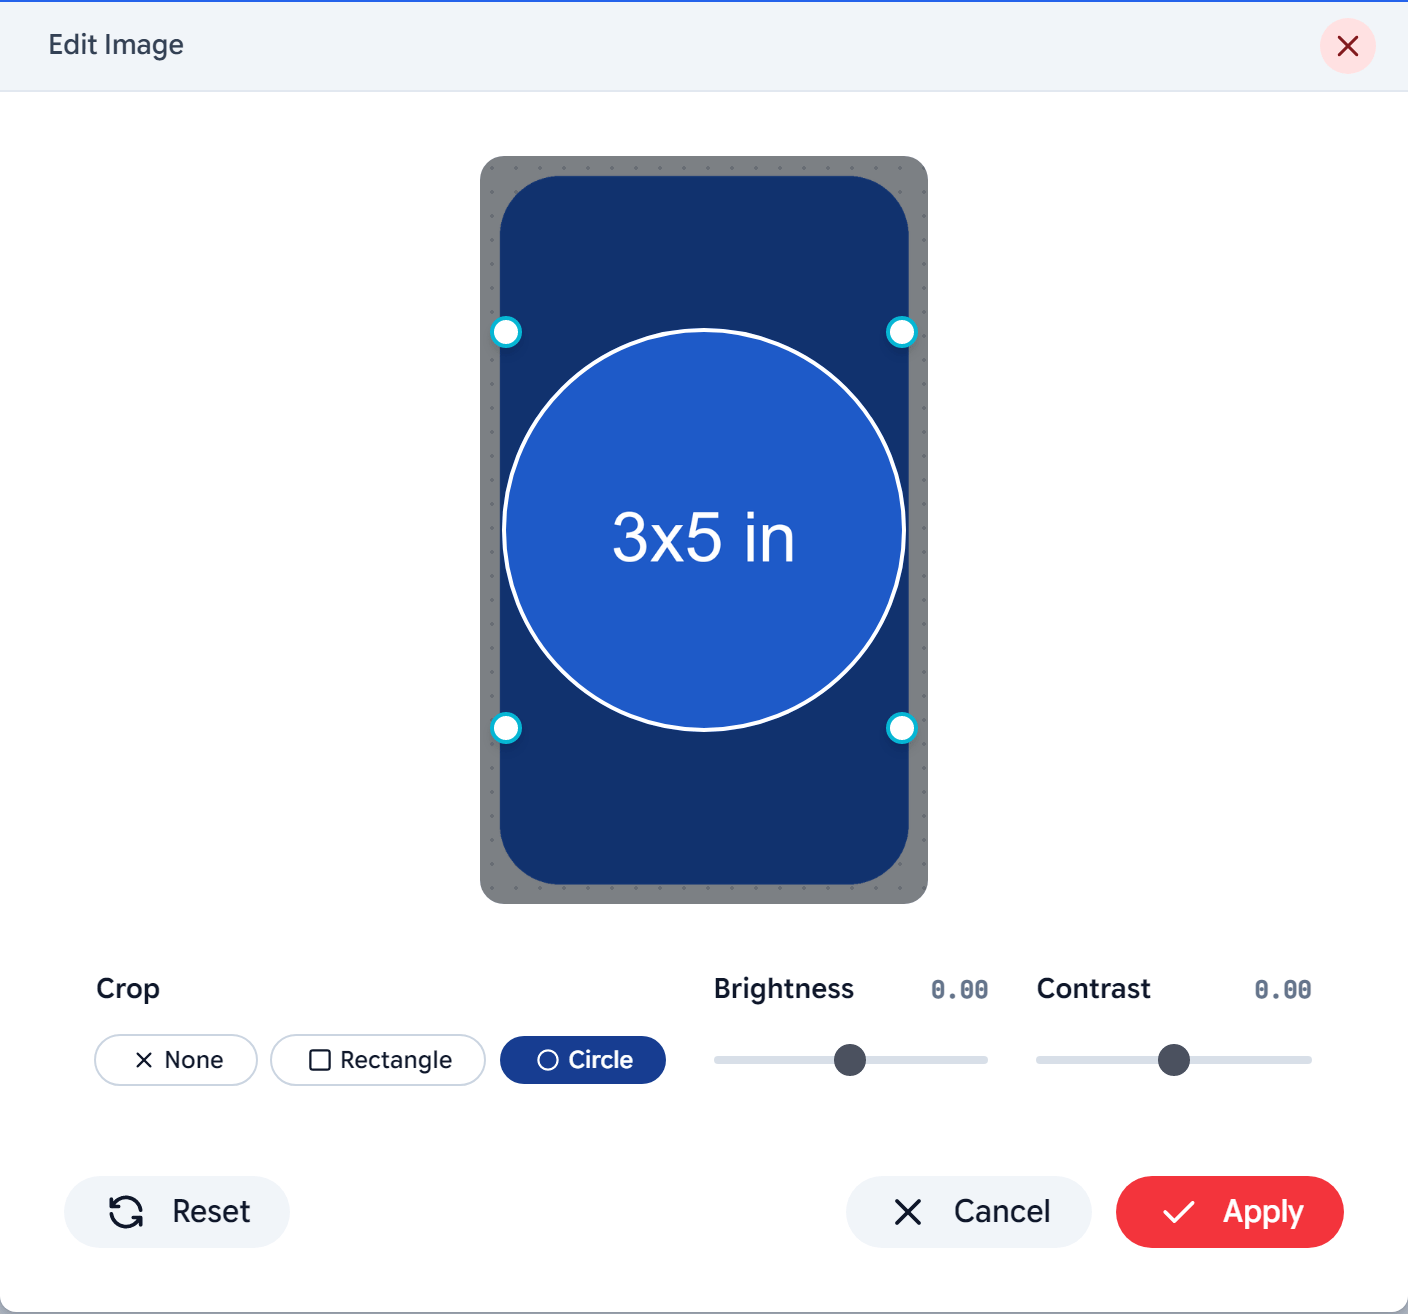
The Edit Image popup: circle crop, brightness and contrast
Available on uploads and raster gallery graphics. Crop as a rectangle or a circle by dragging the frame’s corners; Brightness and Contrast adjust the picture. Reset returns to the original; Apply replaces the design’s artwork. A crop keeps the artwork’s print scale: the piece shrinks by what was cut away rather than stretching fewer pixels over the old size, so a design that met the resolution floor still meets it after a crop. Edits always start again from the original upload, so nothing degrades with repeated edits, and Reset puts the original back without an upload.

Outline

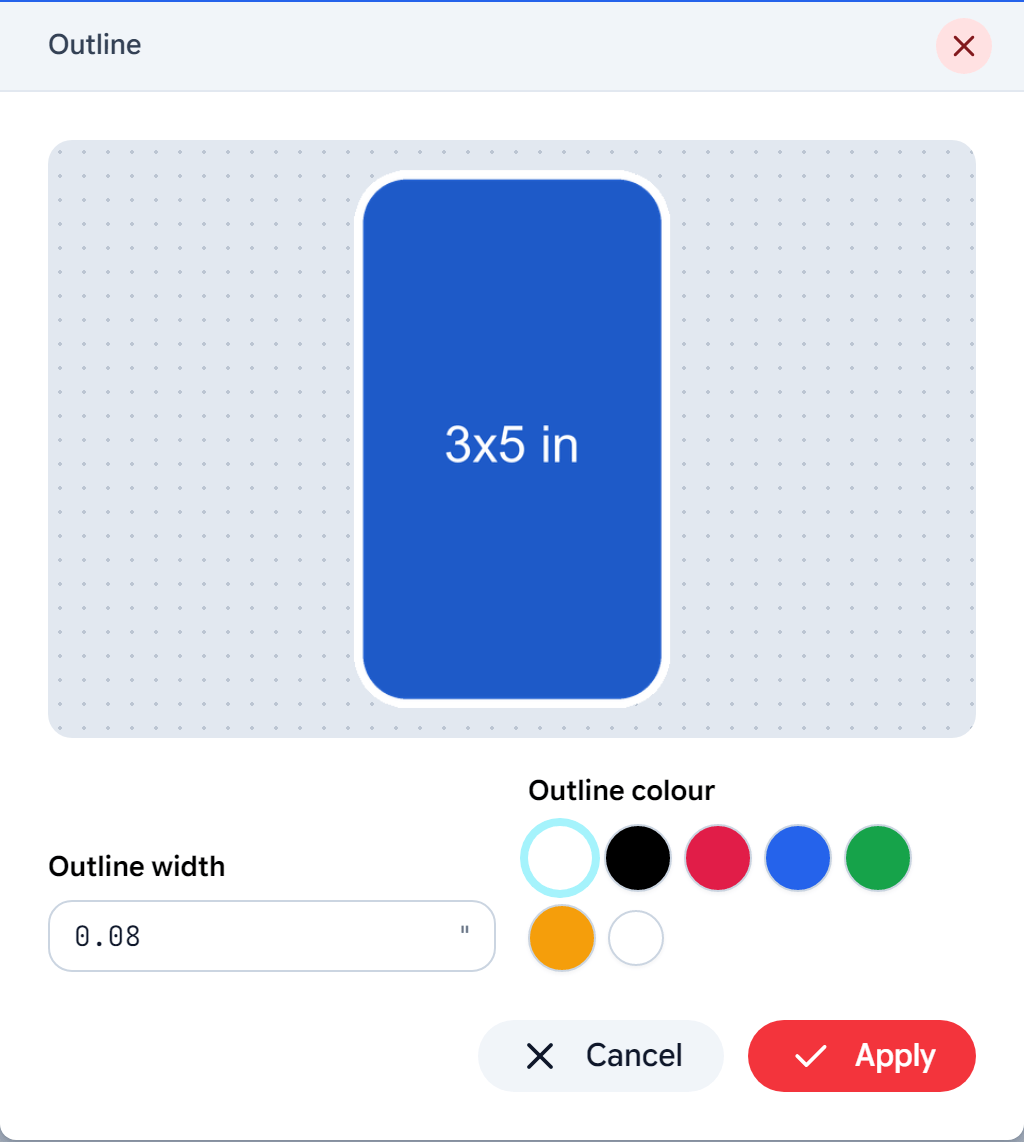
The Outline popup: width, colour and a live preview
Adds a keyline around the design’s silhouette — a white outline for dark garments is the classic use. Set the width and the colour; the preview shows it on the design. The keyline hugs the artwork’s edges, so on an opaque upload switch Remove background on first, or the outline will trace the rectangle. The piece grows by the outline width on every side; the artwork itself keeps its printed size. Remove outline takes it off and restores the size.

Rules between the tools

  • Outline and Halftone are exclusive. A screened keyline prints badly, so the Halftone switch hides while an outline exists, and Outline is disabled while Halftone is on.
  • Text has its own outline in its popup; the Outline button does not appear on text designs, and neither does Halftone or Remove background.
  • SVG graphics take none of the image operations.
  • Remove background feeds the other edits: a crop or an outline is made from the cut-out when the switch is on.