

Forms are automatically displayed in the Editor to your customers if you have one or more Smart Texts enabled.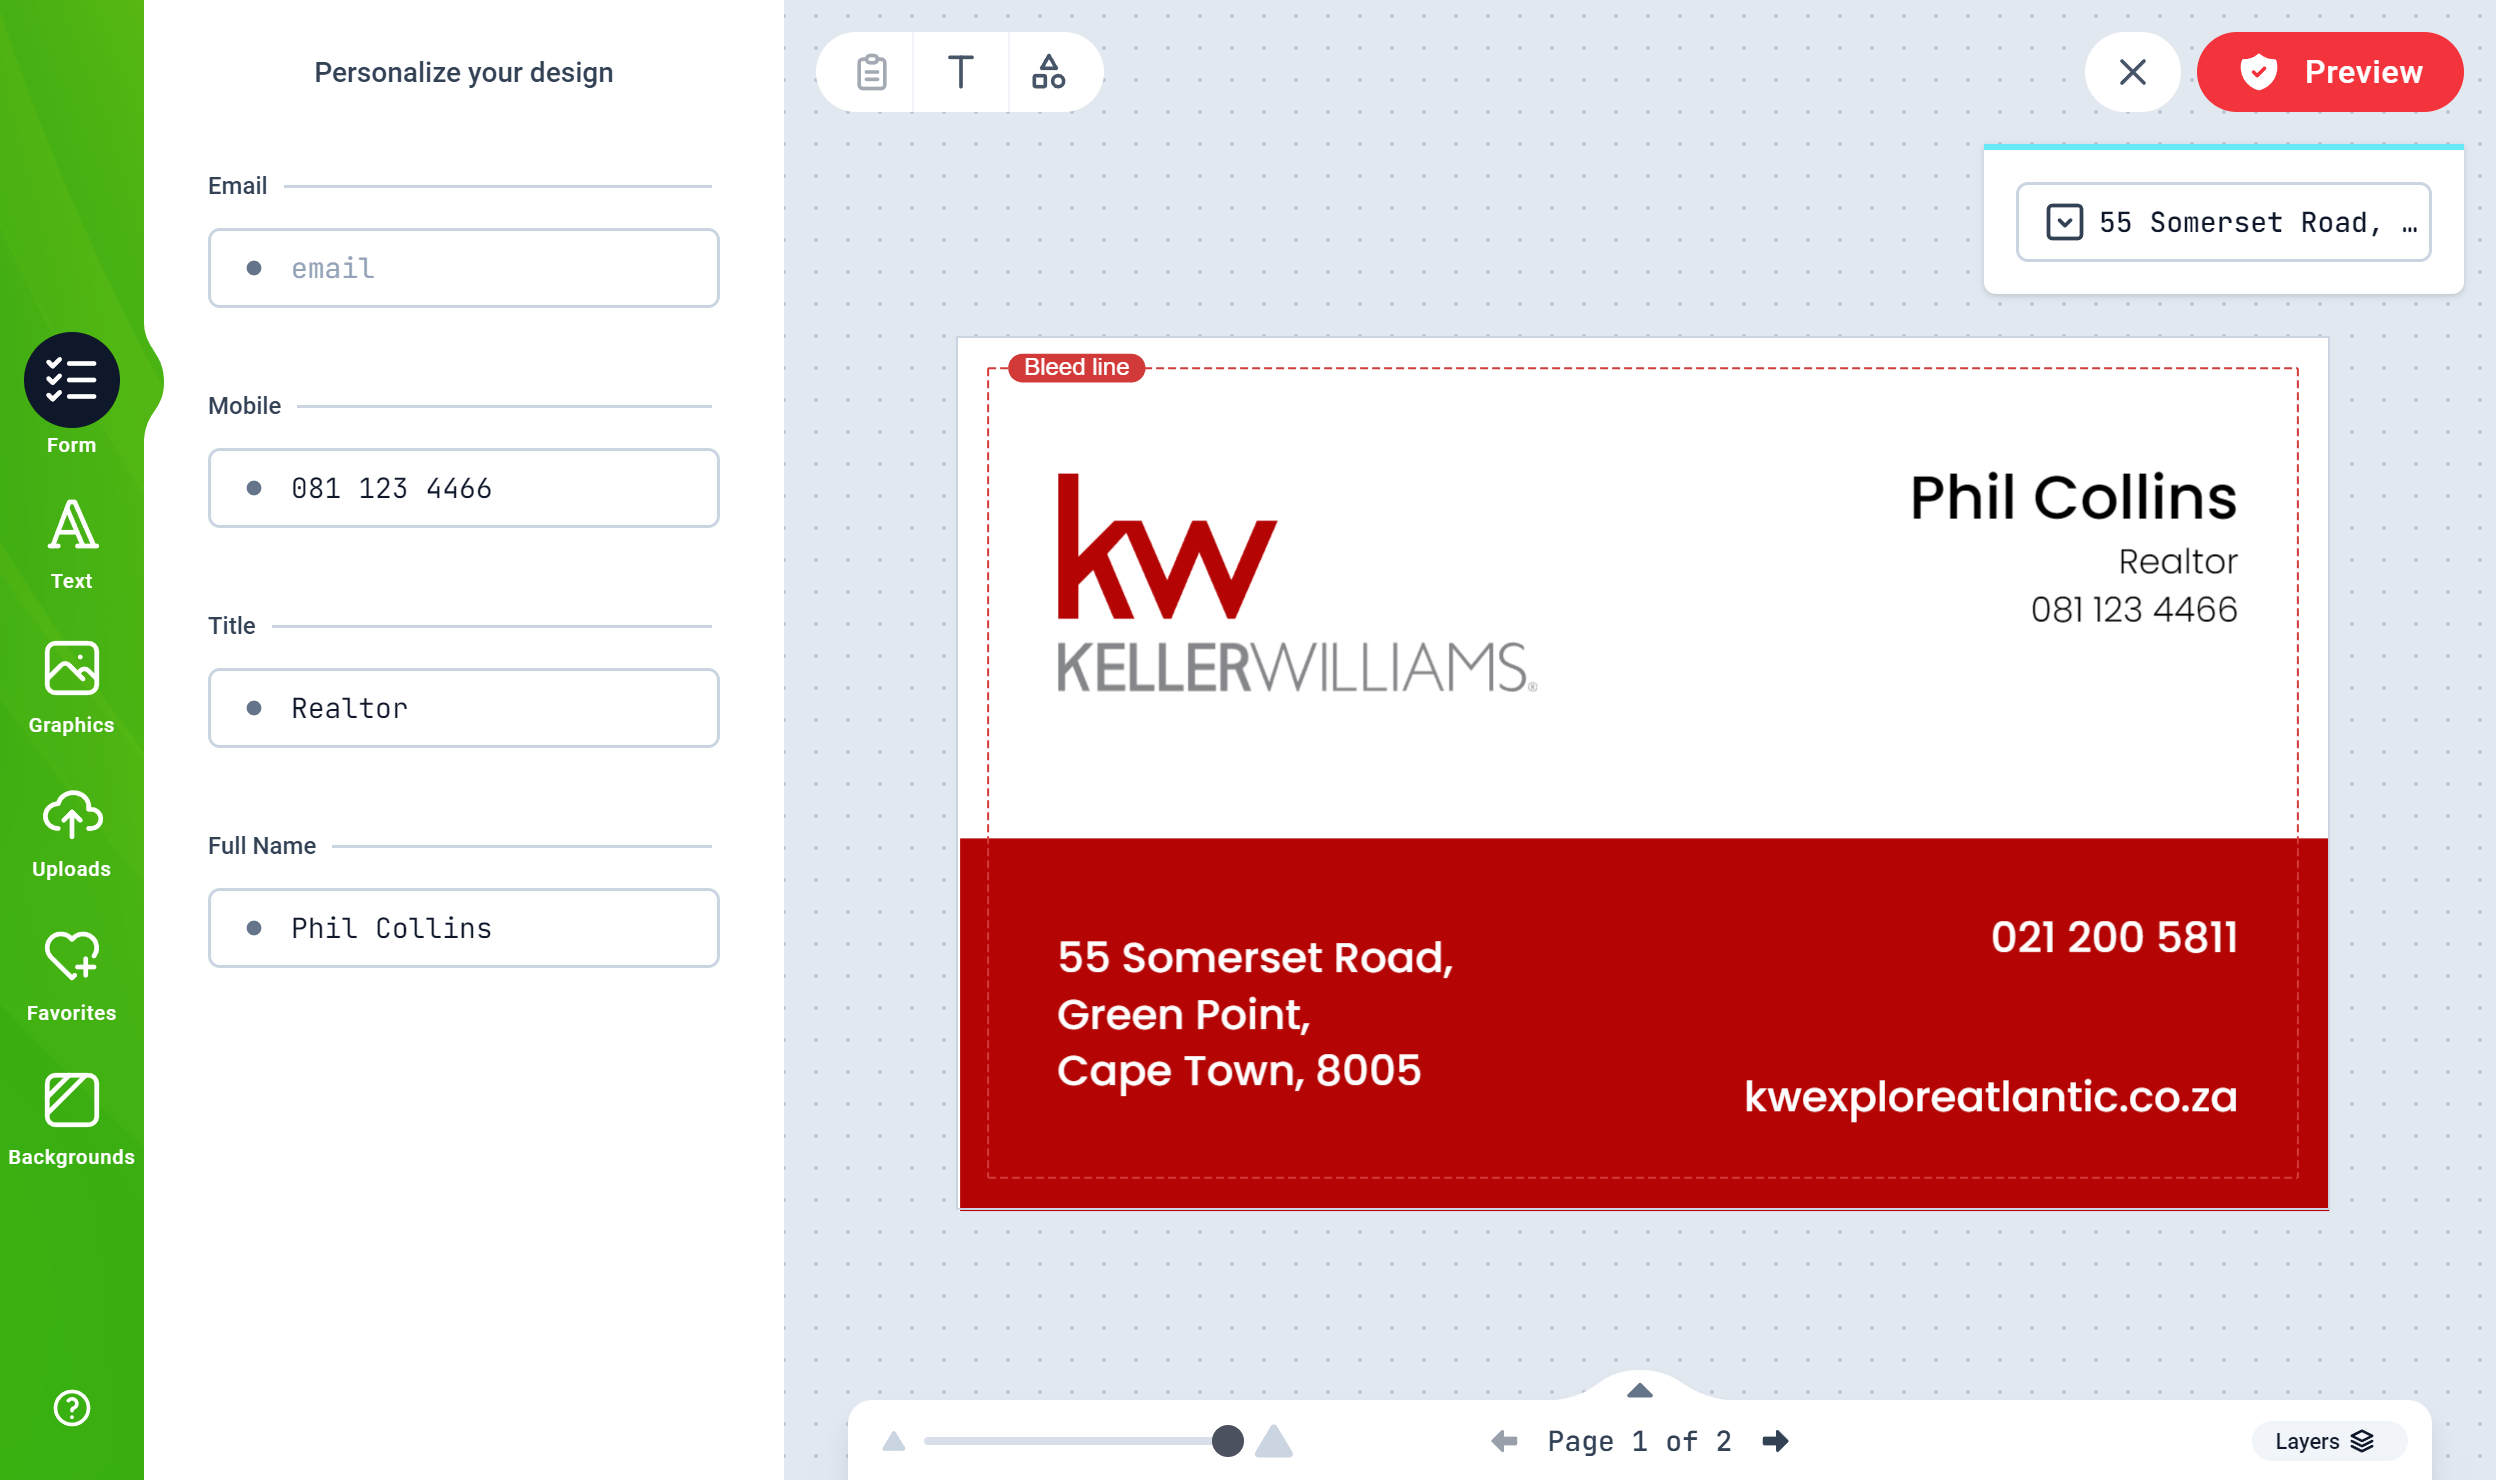
How to create a Smart Text
- Create a Text Object and edit the text value to what you want. eg
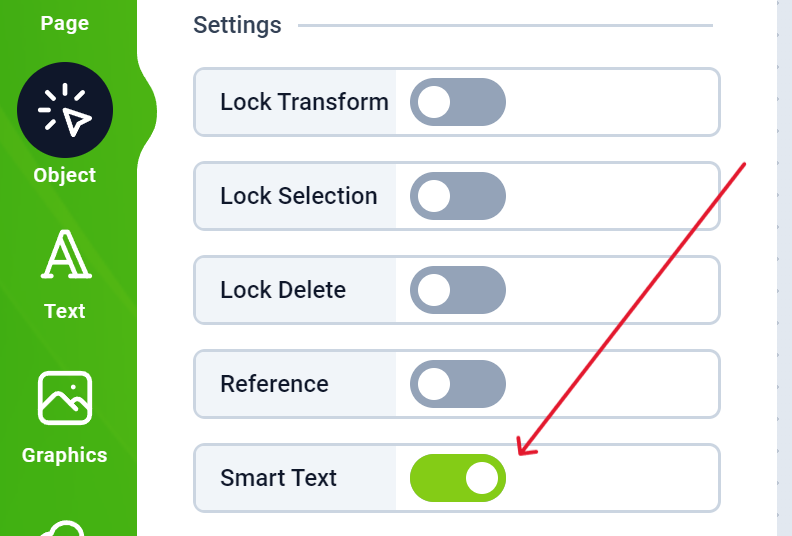
hello@company.com - Select the Text and go to the Object tabs. Enable the Smart Text switch.
- To provide additional details, you can give the Text a title
Email. You do this on the Object panel as well.
Create a Smart Text using multiple variables
The simple Smart text you created earlier allowed you to create only one editable variable, which is an email. Using curly braces{variable}, you can combine one or more variables into a single multi line Text field.
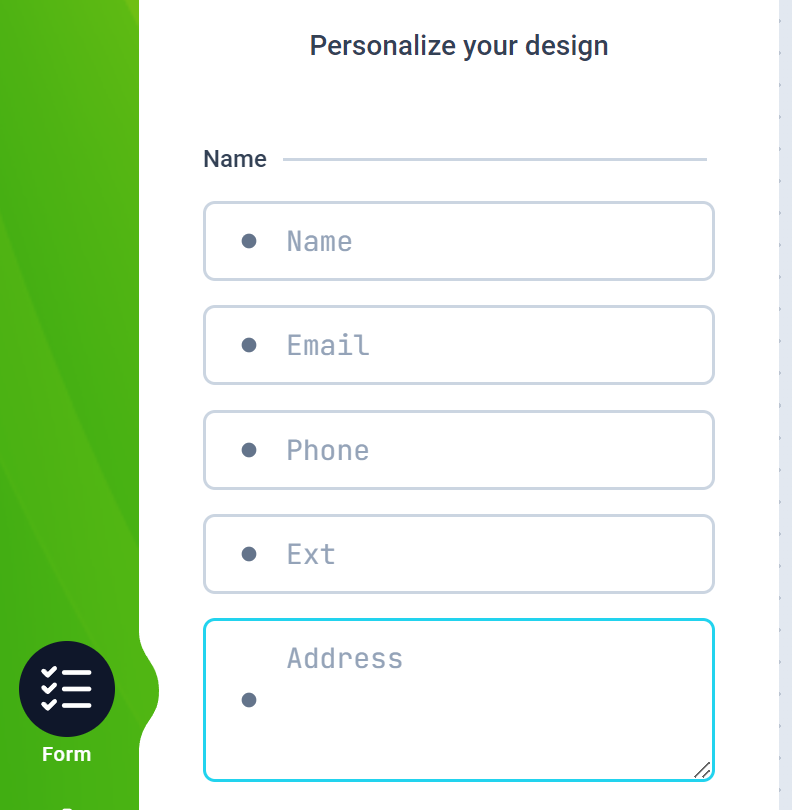
Think of an Address or user details. It has the a name, email, phone number with extension and address. These can be combined in a single text field but editable individually in the form.
This is how it will appear in the form:
-
{Name:Jane Doe}: The first item before a colon:is treated as the title while the text that follows is treated as the default value. Here, the title is Name, and the default value is Jane Doe. -
{Email}: This is treated as the Title with no default text value. -
{!*Phone:: 081444 2822} {*Ext:: 02}:- The
!means that line is required and must be supplied by the customer. - The
*before a Title implies that though thePhoneandExtare titles, they should be included in the final text content, so they have dual use. A title, and as part of the final text on canvas. - The double colon
::implies that the first colon is a separator while the second one should be included in the final text value. So you havePhone: 081444 2822 Ext: 02as the final text; replacing the numbers with whatever your customer provides.
- The
- The Address line spans 3 rows and should be treated as a single Title, Value pair. With this, a multi line textbox is provided for the user to type into. If they omit line 2 of the address, the text shifts up.
Smart Text Summary
Typed fields
For real form controls — email or phone inputs, dropdowns, length limits — add a pipe| after the title, followed by comma-separated attributes:
| section names one of the attributes below is a typed field — a | used as plain text (with no attribute after it) keeps its normal meaning. The form renders a matching input: select becomes a dropdown of the options (separated by ;), email / tel / number set the input type (with the right on-screen keyboard on mobile), max caps the text length, and multiline / lines render a sized textarea.
The legacy
! and * prefixes remain valid on a typed title — {!Email | type: email} is both required and an email input. Legacy and typed tokens can be mixed freely in one text object.