-
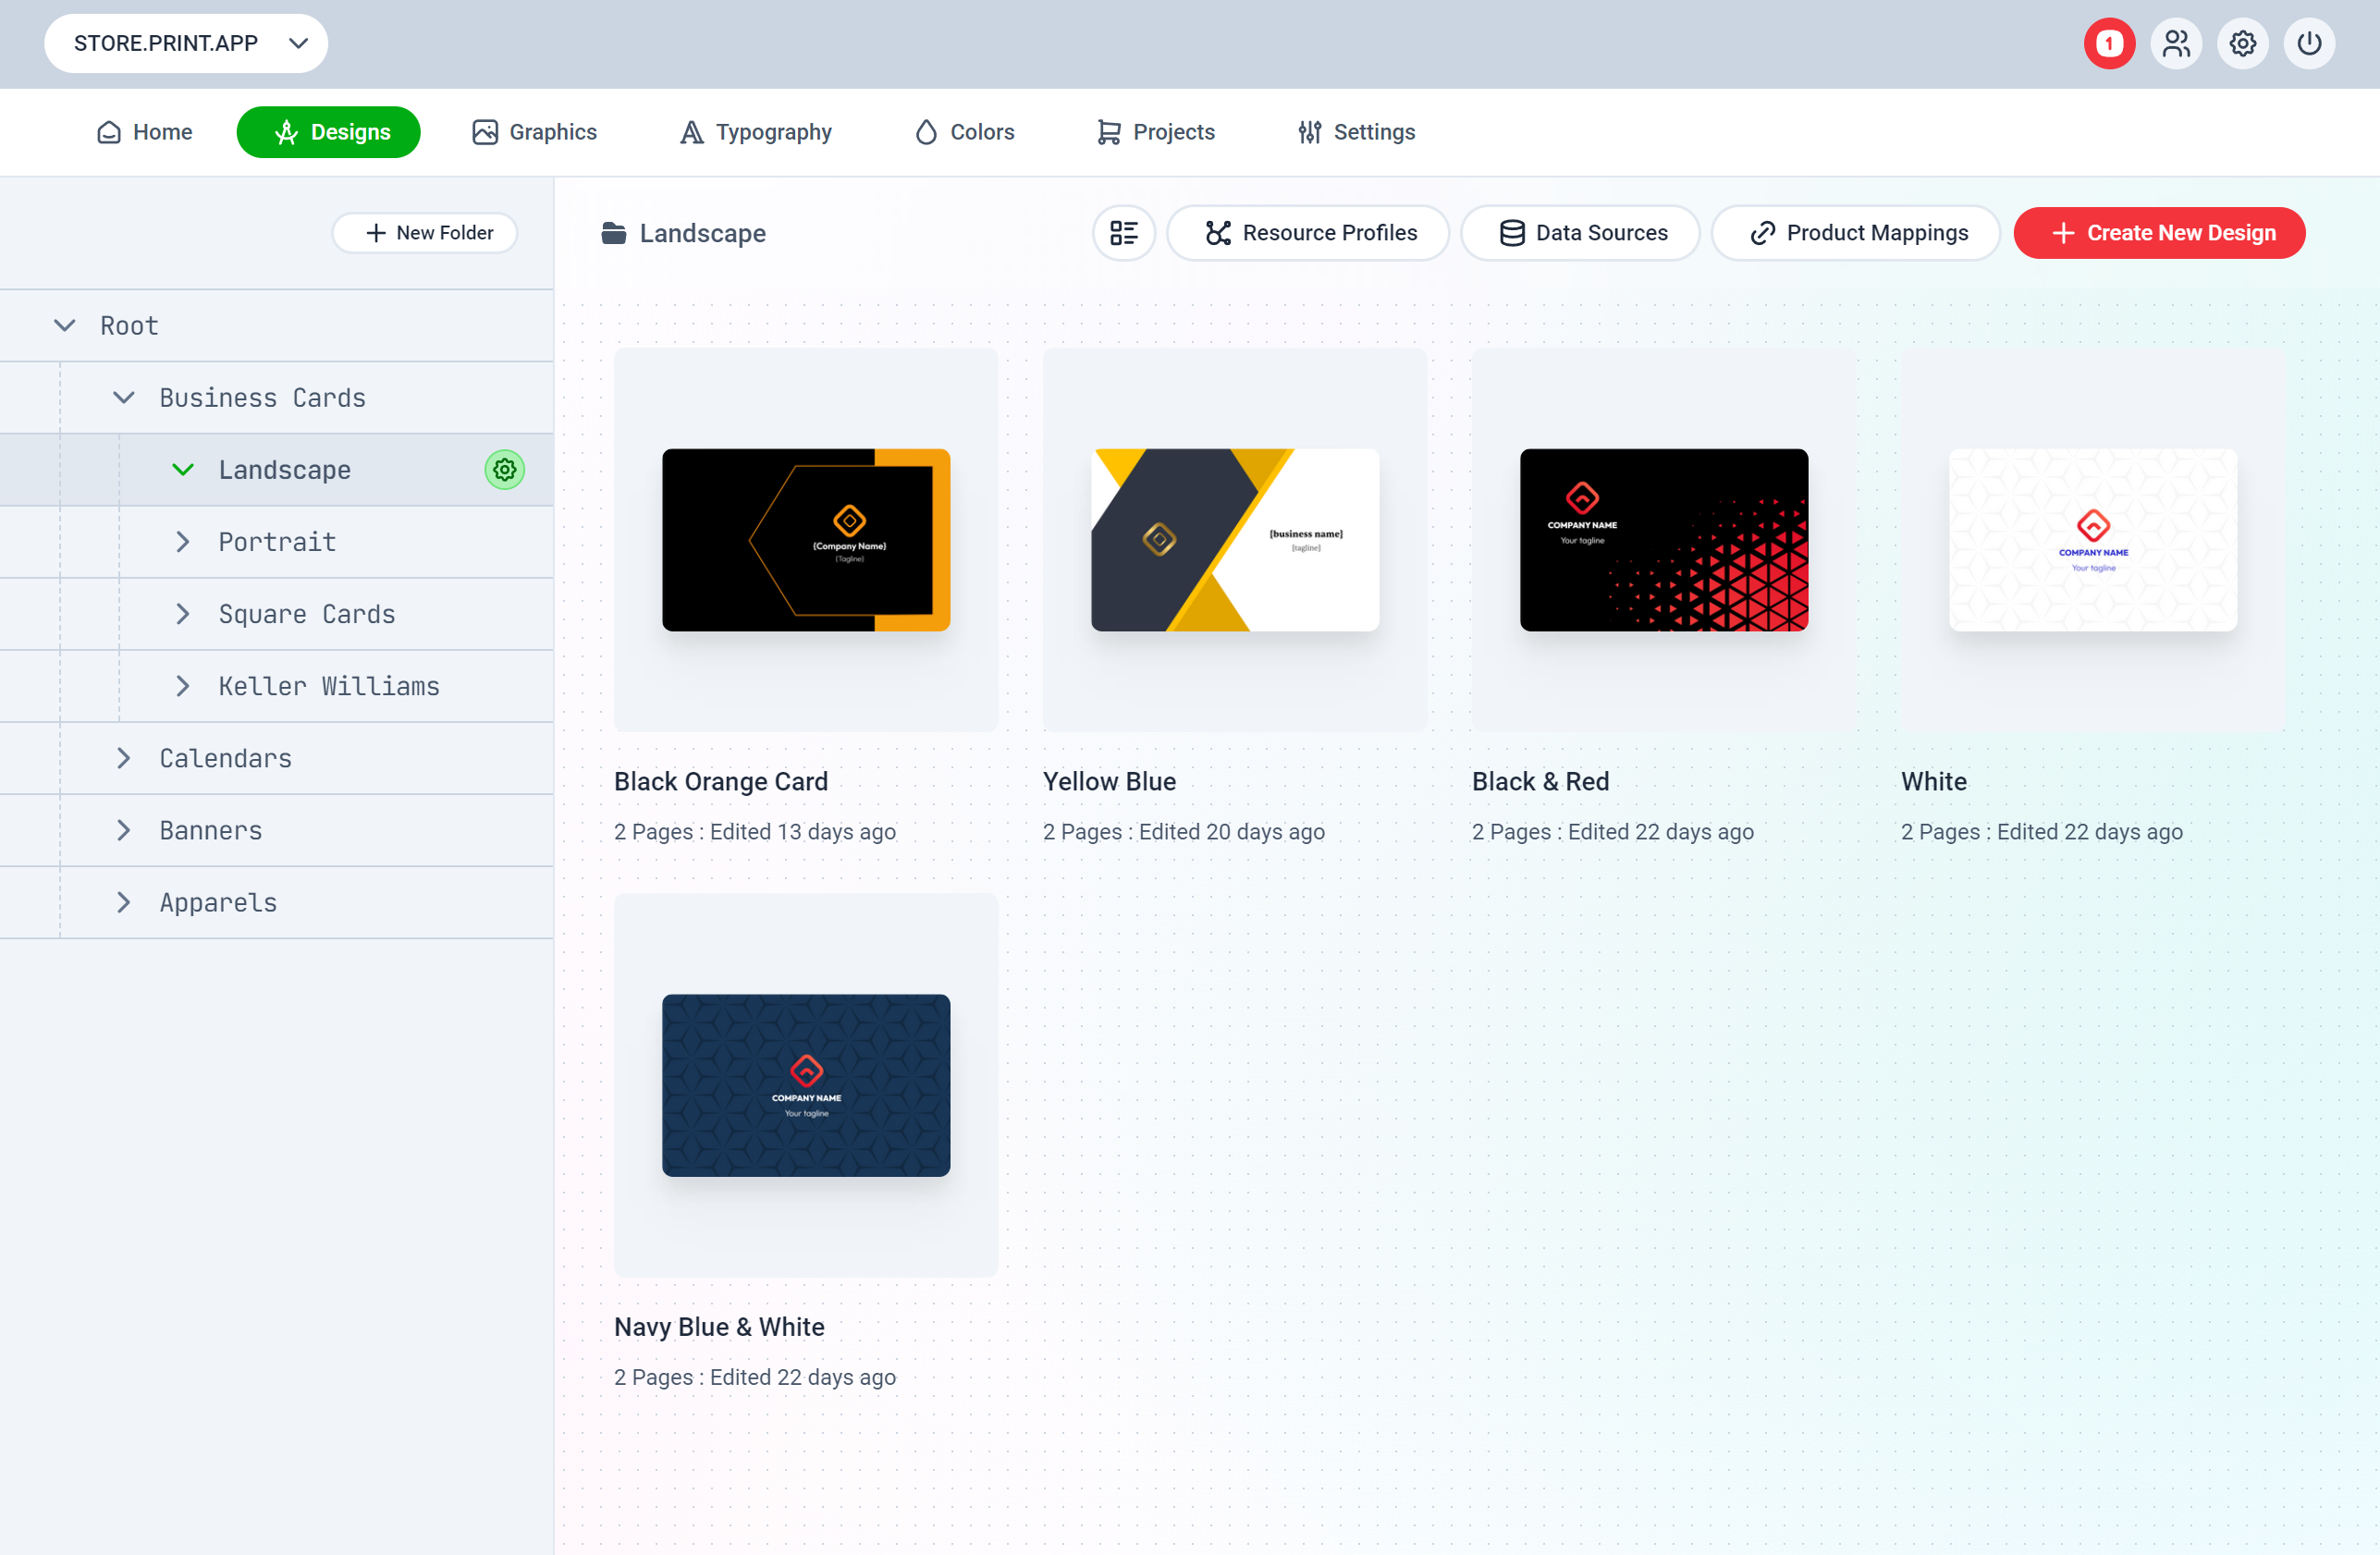
Design - This is where you will define all the design configurations like the Title, Welcome message, Units, Modules, Variations, set the Default Tab etc
Read here for more on Design settings -
Page - Here, you manage the Current Page displayed in the Editor. You can create additional pages and have as many pages as your design requires
Read here for a detailed description of Page panel
To clone a Page, move your mouse over the current page in the Navigator section on the bottom of the page and click the more icons (3 dots). This will present you with a menu where you can clone or delete that page.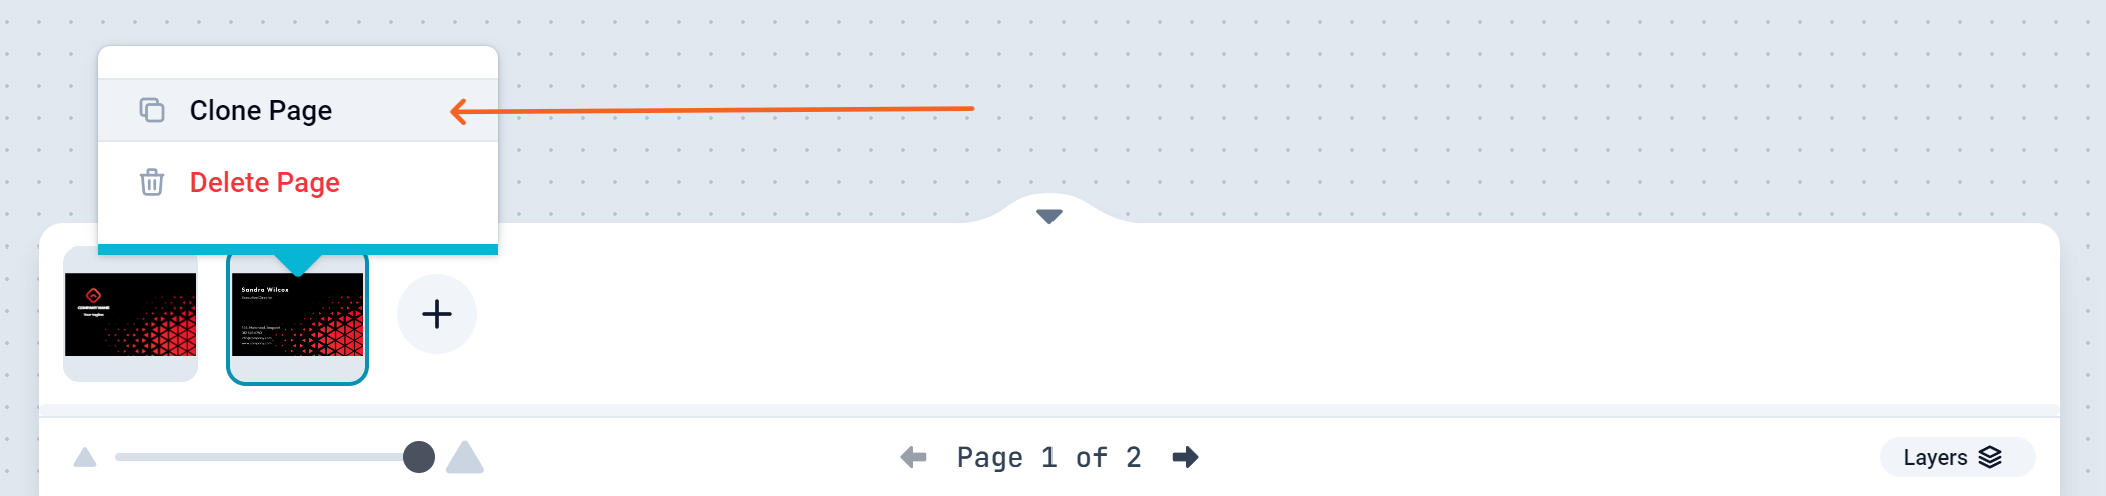
-
Object - This panel is used to configure an Object’s detail for Objects like Texts, Graphics, Images. You can set the object’s Title, Size & Position and other settings.
Read here for a detailed description of this panel - Text - Here, you can find all the Text controls to create a new Text, and apply fonts.
- Graphics - Graphics section lists all your shapes, svgs and pictures. This collection is equally available to your customers. You can limit what appears in this section per design by assigning Profiles to the Design.
- Backgrounds - These are background images that customers or store owners can apply to the Background layer of the page. You can also apply a background color from here.