Users can customize the spacing, rotation, and scale of the pattern to create a unique design..
It can automatically remove backgrounds from uploaded logos, and also supports tolor tinting to generate a pattern in a single color.
To get started, load a Design or open one for edit from your Admin Designs page
Create a new Design Template
You can create a new design template by clicking the
Create New Design button on the top right of the Designs page.Add a blank page to your design and set the desired Canvas size for your pattern canvas. You can also set a background or underlay if you want to show customers a preview of the final product.Add Pattern Module to Design
You need to enable the Logo Pattern Module so we can set the desired DPI, Color requirements and other configurations.
Click the Design tab on the left panel and then click the 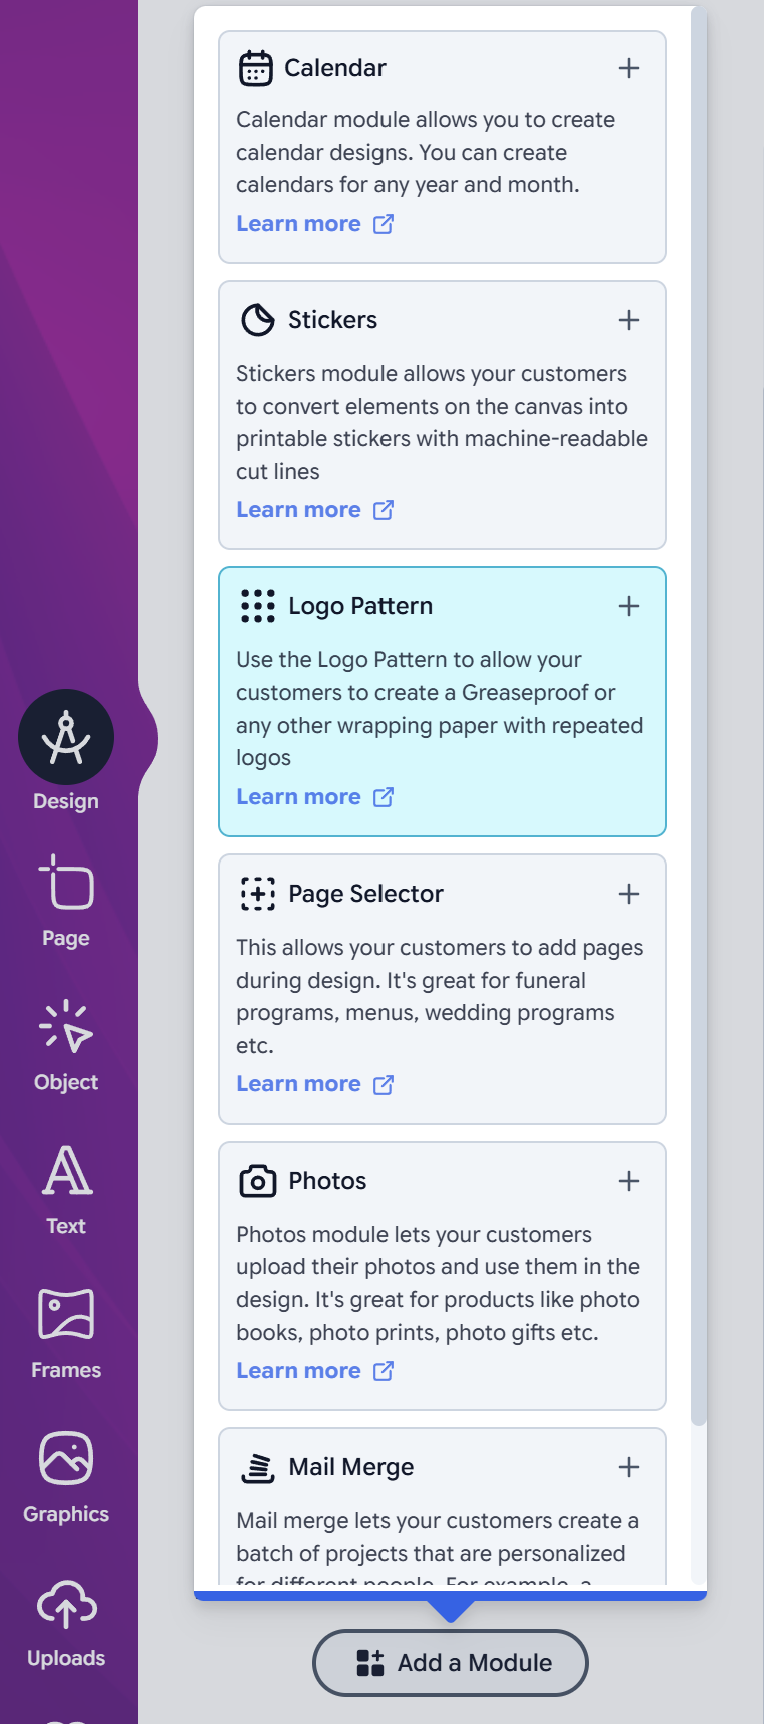
Add Module button and click Logo Pattern from the list.Configure Settings
- DPI - Set the minimum DPI for the pattern. If your customers upload a logo with a lower DPI, they will be prompted to upload a higher resolution logo or reduce the size value of the impression. This only applies to Raster images such as PNG or JPEG, Vector files or PDFs are not affected by this setting.
- Remove Background - Enabling this will automatically remove the background from uploaded logos, this is useful for customers who do not have the technical knowledge to remove the background from their logos before uploading.
- Color Requirements - You can retain the original color in the uploaded files or tint them to generate a pattern in a single color. Here, you can select the color category where to source the colors from in your store. Colors are defined in your Admin Colors page
- Show Presets - This will show a list of preset patterns that customers can choose from to apply to their design.
- Show Settings - This option will display the pattern settings to customers, allowing them to customize the spacing, rotation, and scale of the pattern to create a unique design.
- Upload Prompt - This is the message that will be shown to customers when they are prompted to upload their logo. You can use this field to provide instructions on the required logo specifications such as file type, DPI, and color requirements.
Save and Publish Design
Once you are done configuring the module, click the 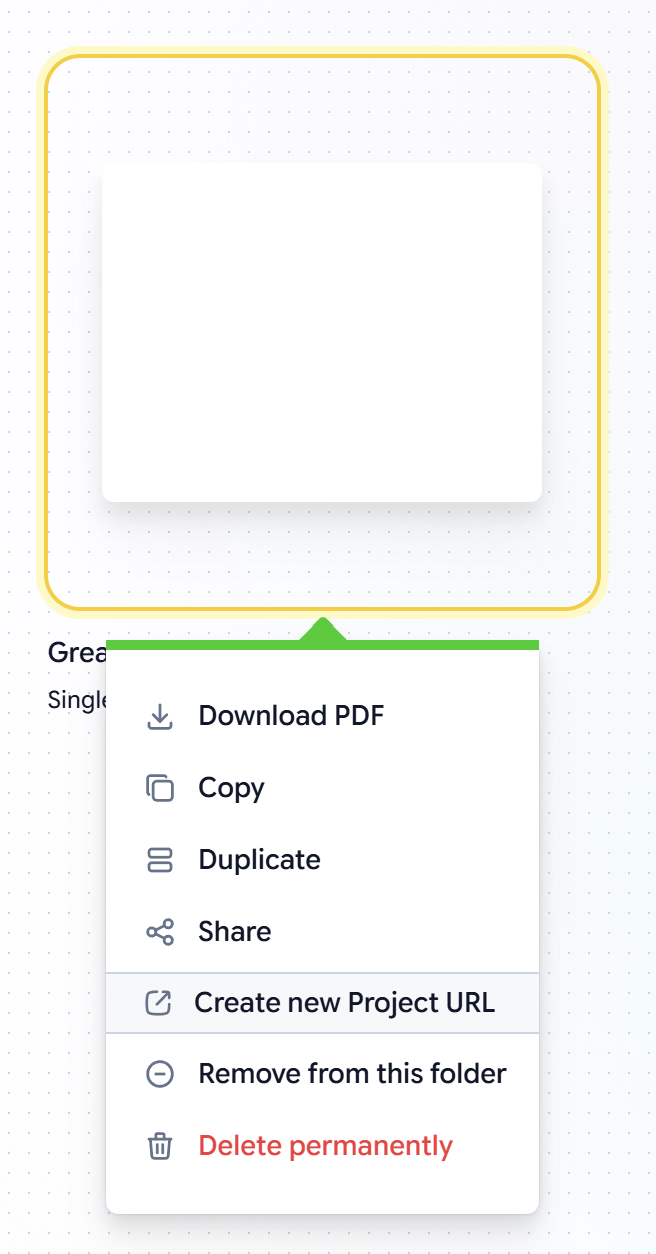
Preview button to preview and save your design.
You can then assign it to a product and publish it to your storefront for customers to start creating their own logo pattern designs.Alternatively, you can create a Project URL from this design template to see how it looks to the customers without having to assign it to a product. You can do this by clicking the Create Project URL button on the more menu against the design.