> ## Documentation Index
> Fetch the complete documentation index at: https://print.app/docs/llms.txt
> Use this file to discover all available pages before exploring further.
# Installation
> Print.App has a Wordpress plugin designed to allow your customers to personalize their print orders before purchase. This is a guide on how to install the Print.App plugin on WordPress
 [WordPress](https://wordpress.com) is naturally a blogging platform but with a very large community of developers and user-base, it has expanded beyond just blogging
So natively, WordPress is does not have a cart system but there are plugins that makes this possible. One of them is [WooCommerce](https://woocommerce.com) upon which the Print.App plugin is based.
The WordPress version of Print.App module is designed to function alongside the WooCommerce module. So it cannot work without the WooCommerce plugin. Follow these steps to install WordPress, then WooCommerce and finally Print.App
1. Start by installing Wordpress using the [Official Download Link](https://wordpress.org/download/)
2. After installing WordPress, log into your WordPress admin portal and install WooCommerce.
To do this, you can either install manually or install it directly from within the WordPress admin panel by searching for **WooCommerce** in the `Plugins` -> `Add New` -> and then `Search field`
3. Once you have installed both WordPress and WooCommerce, you can then install Print.App following the same procedure as above: Search for Print.App in `Plugins` -> `Add New` -> and then type `Print.App` into the search field.
Optionally, grab the code and install it manually from our [Github page](https://github.com/PrintApp/print-app-wordpress)
4. Now activate both the WooCommerce and Print.App plugins under `Admin` -> `Plugins` -> `Installed Plugins`
5.
You can still use your credentials for localhost testing if you are not ready to go live just yet.
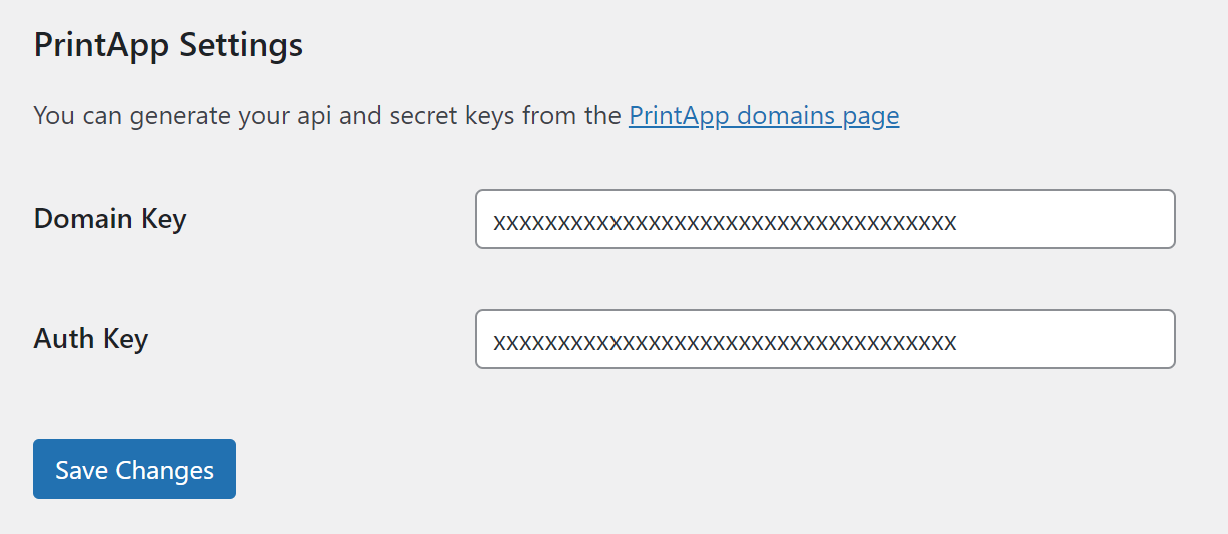
6. Back to your WordPress admin, you will find Print.App Icon in the left menu.
Click the menu to enter the keys your copied above and save.
[WordPress](https://wordpress.com) is naturally a blogging platform but with a very large community of developers and user-base, it has expanded beyond just blogging
So natively, WordPress is does not have a cart system but there are plugins that makes this possible. One of them is [WooCommerce](https://woocommerce.com) upon which the Print.App plugin is based.
The WordPress version of Print.App module is designed to function alongside the WooCommerce module. So it cannot work without the WooCommerce plugin. Follow these steps to install WordPress, then WooCommerce and finally Print.App
1. Start by installing Wordpress using the [Official Download Link](https://wordpress.org/download/)
2. After installing WordPress, log into your WordPress admin portal and install WooCommerce.
To do this, you can either install manually or install it directly from within the WordPress admin panel by searching for **WooCommerce** in the `Plugins` -> `Add New` -> and then `Search field`
3. Once you have installed both WordPress and WooCommerce, you can then install Print.App following the same procedure as above: Search for Print.App in `Plugins` -> `Add New` -> and then type `Print.App` into the search field.
Optionally, grab the code and install it manually from our [Github page](https://github.com/PrintApp/print-app-wordpress)
4. Now activate both the WooCommerce and Print.App plugins under `Admin` -> `Plugins` -> `Installed Plugins`
5.
You can still use your credentials for localhost testing if you are not ready to go live just yet.
6. Back to your WordPress admin, you will find Print.App Icon in the left menu.
Click the menu to enter the keys your copied above and save.
 7. Now you have the plugin linked to our platform. You can test this out by assigning a design to any of your products.
If you do not have any product on your store, you can create a new one or click one to edit.
* Navigate to Products section in the admin and click the "Add Product" link. Provide an SKU, a price
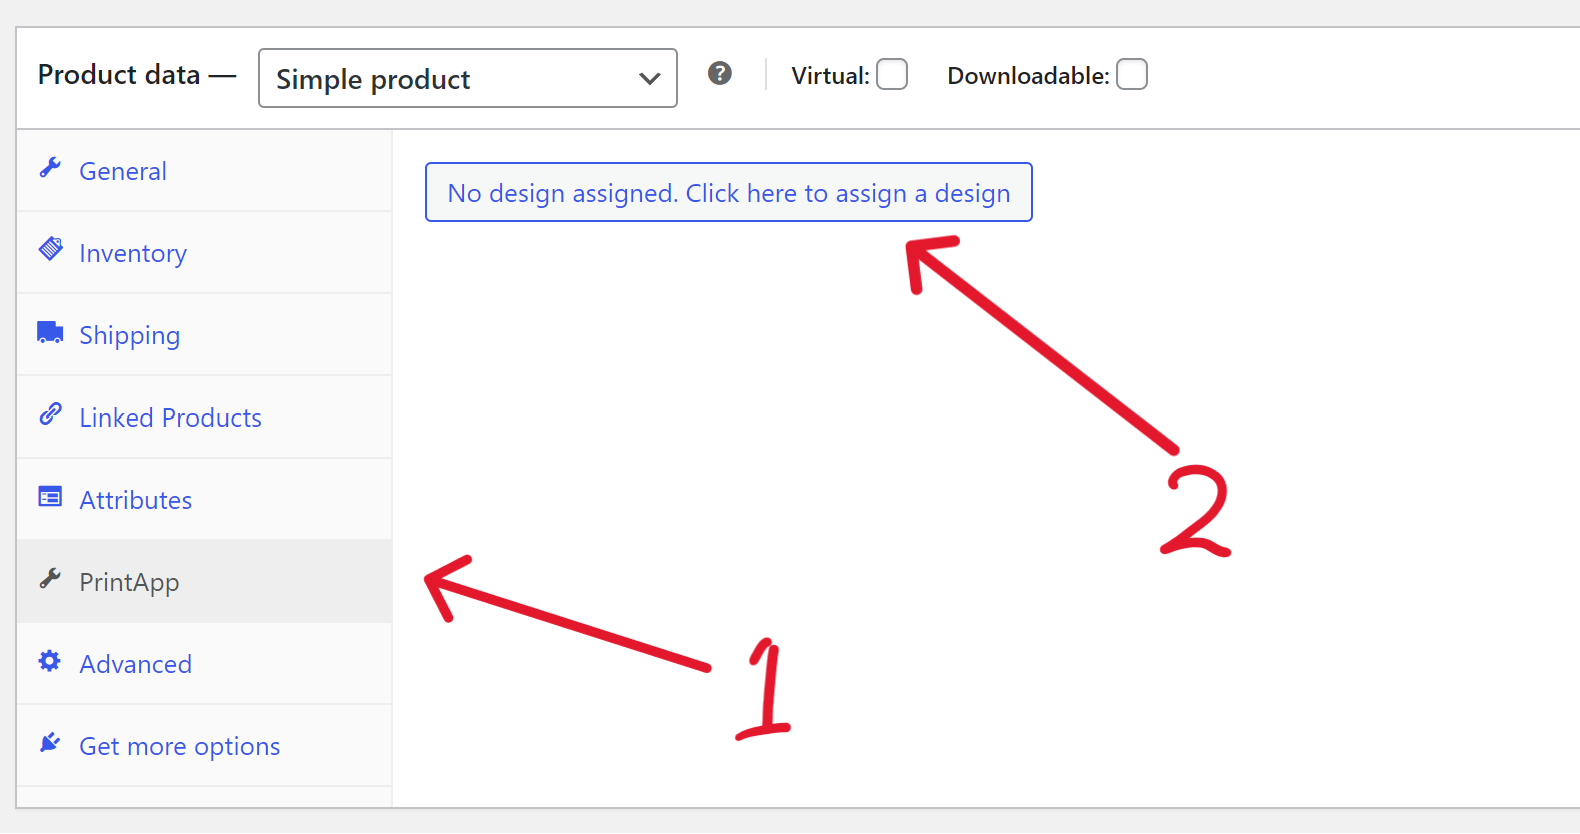
8. Next step is to link a Print.App Design to your Product. From your Product detail page in the last step, you will find Print.App link and there a button to assign it a Design. Clicking that button takes you to the [Print.App Design Dashboard](https://admin.print.app/designs) where you can map a design to this product.
7. Now you have the plugin linked to our platform. You can test this out by assigning a design to any of your products.
If you do not have any product on your store, you can create a new one or click one to edit.
* Navigate to Products section in the admin and click the "Add Product" link. Provide an SKU, a price
8. Next step is to link a Print.App Design to your Product. From your Product detail page in the last step, you will find Print.App link and there a button to assign it a Design. Clicking that button takes you to the [Print.App Design Dashboard](https://admin.print.app/designs) where you can map a design to this product.
 9. You're all set! To check everything, do navigate to your store front and check that the product has the **Customize button**