> ## Documentation Index
> Fetch the complete documentation index at: https://print.app/docs/llms.txt
> Use this file to discover all available pages before exploring further.
# Promotional Items
> From stickers and labels to buttons and coasters—practical patterns for branded swag that customers can personalize.
Promotional items are small canvases with big impact. Keep brand elements consistent, allow light personalization, and ensure the final output is production‑ready across diverse substrates.
## Typical products
* Die‑cut stickers and labels
* Buttons, magnets, coasters
* Keychains, badges, name tags
* Packaging labels and event giveaways
## Building blocks that help
* Stickers Generator for auto cut lines with margins
* QRCode for URLs, coupons or tracking
* Text Presets to limit options like size, finish or slogans
* Clipping Masks to confine artwork to circles or custom shapes
* Patterns for tiled backgrounds or textures
## Patterns that work
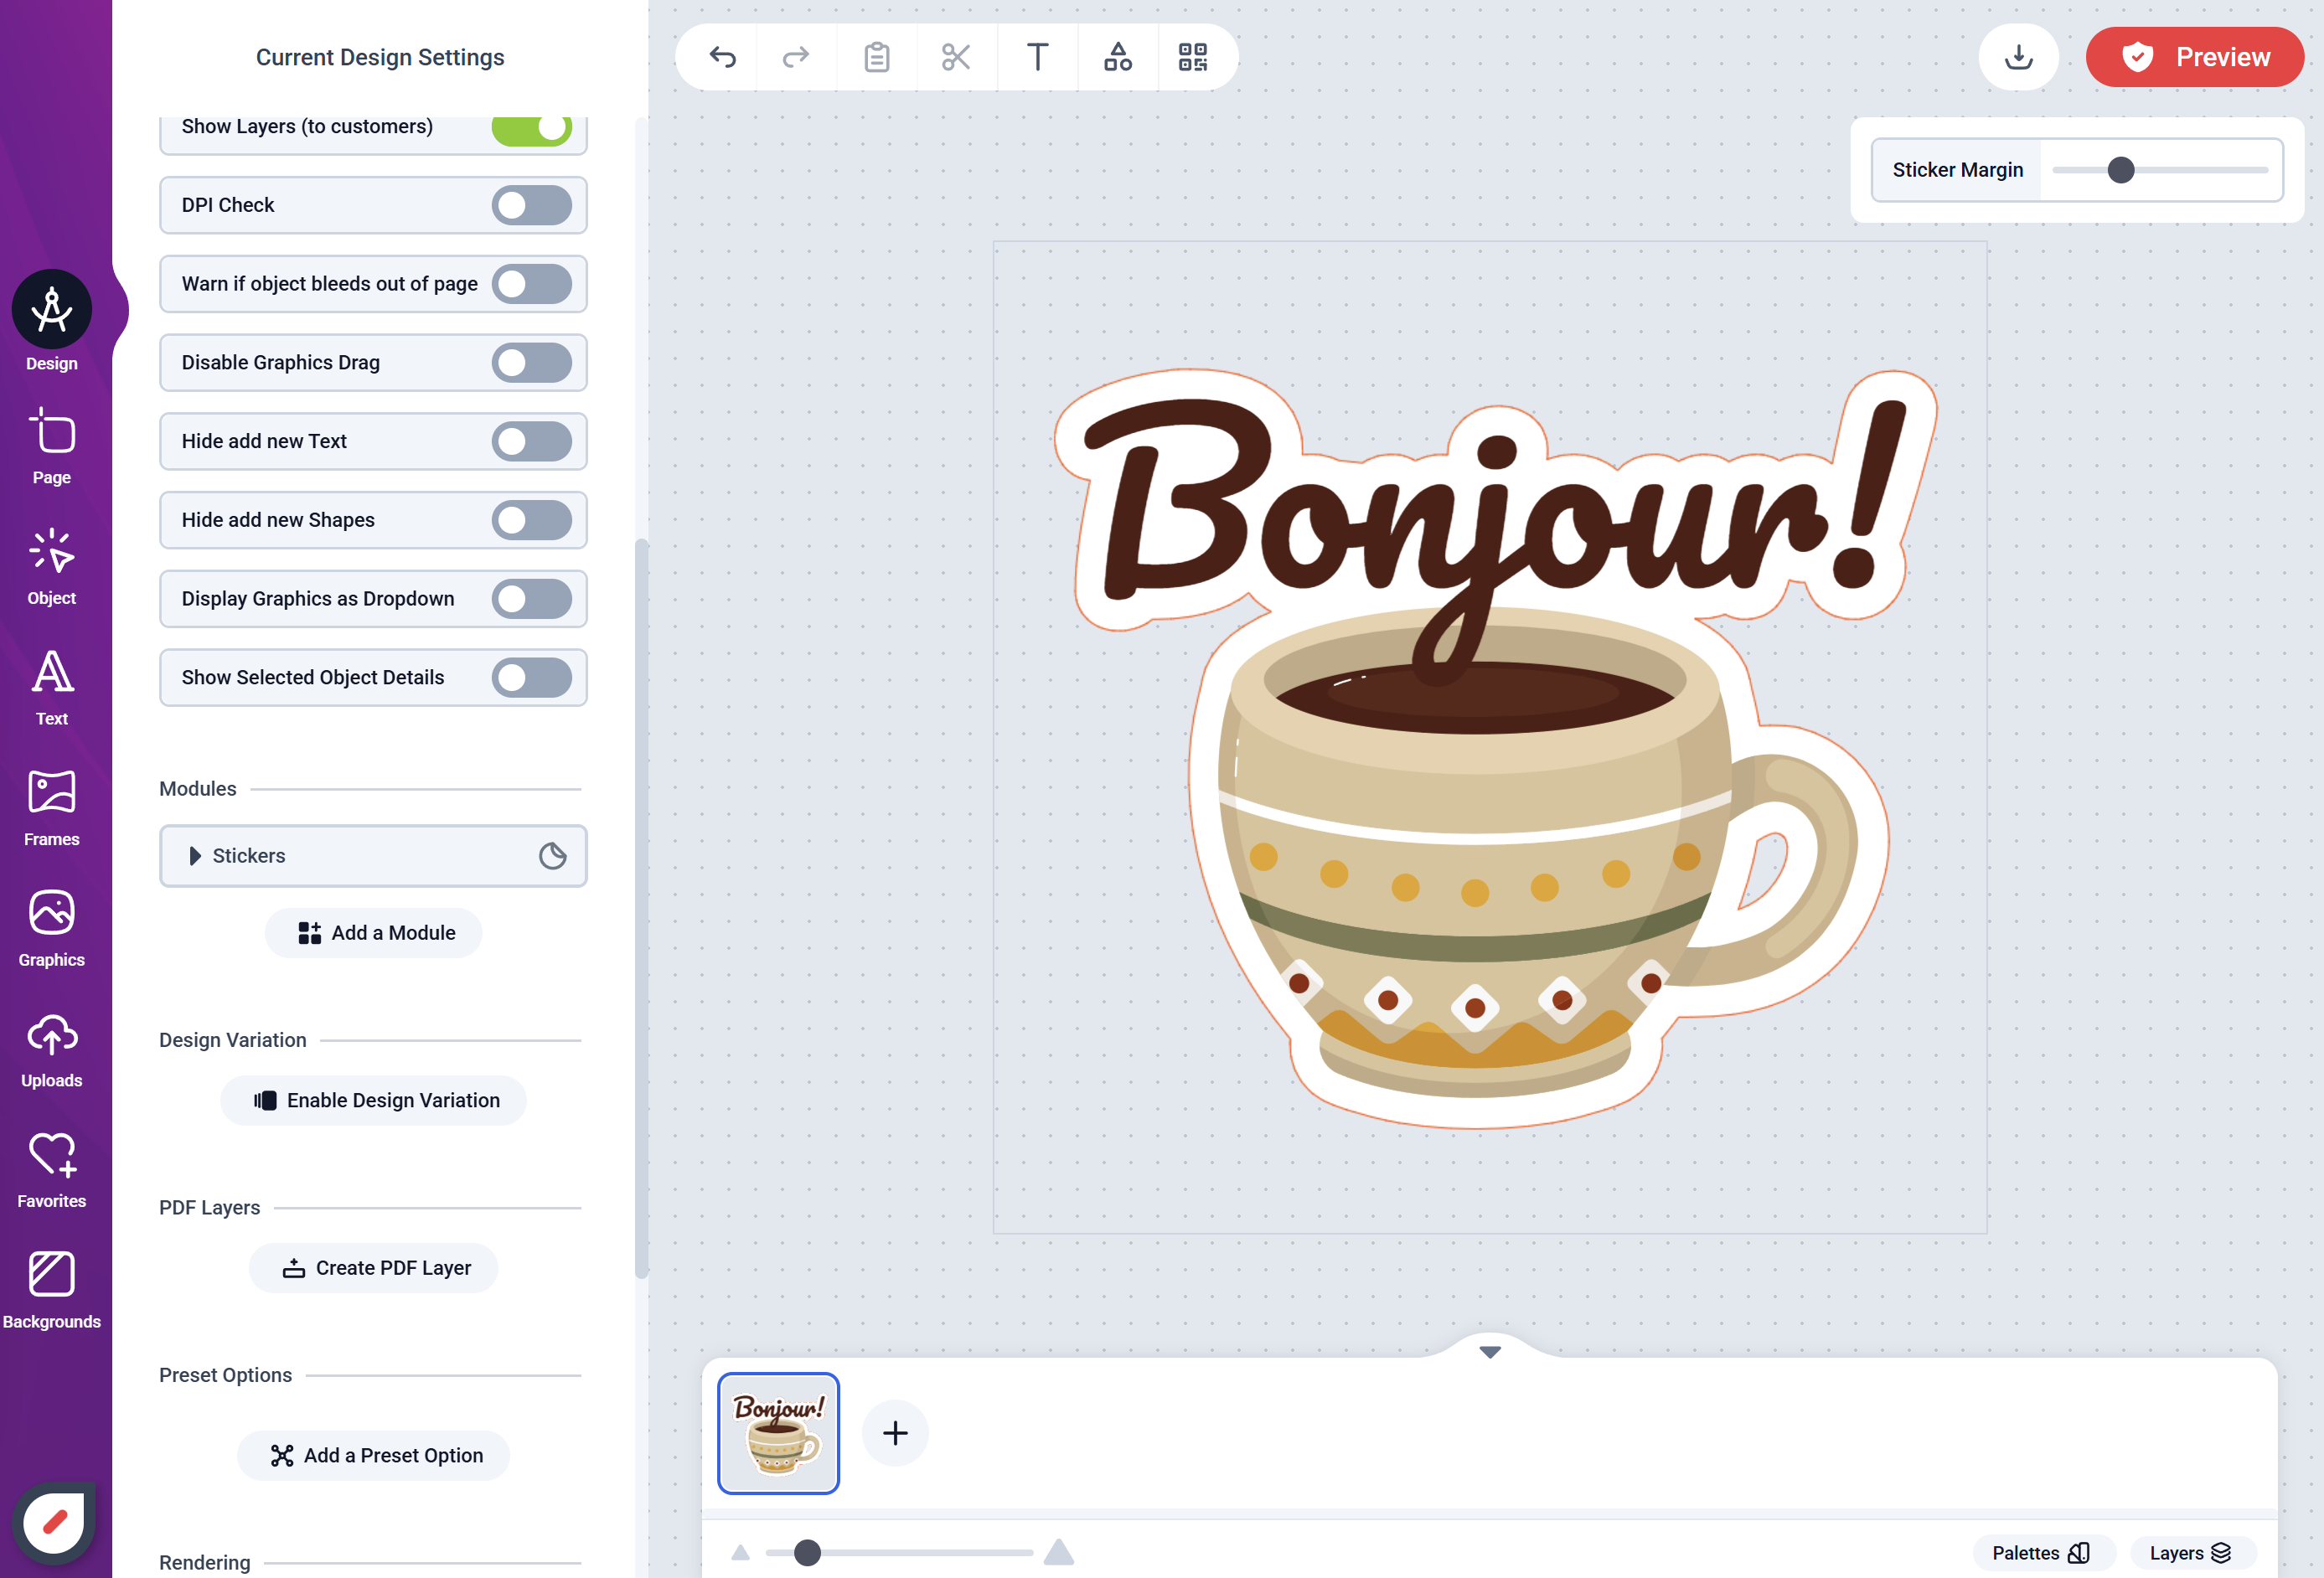
### Die‑cut stickers and labels
Use the Stickers module to generate a margin and a cut line from any object(s) on the canvas.
* Place your text, shapes, and images; keep the page background transparent
* Configure margin and, if you allow it, let users adjust with the on‑canvas slider
* Keep small type and thin strokes above your print process minimums
 Enable the module in your Design and test with a few example graphics: Stickers Generator.
### Round buttons, coasters, badges
For circular items, use a circle clipping mask for the imprint area.
* Add a visible safe area ring and an outer bleed guide layer
* Keep logos and type fully inside the safe area
* Use patterns or solid fills beneath the mask for easy colorways
### Event giveaways with QR Codes
QRs are useful where space is tight.
* Link to a landing page, coupon, or vCard
* Bind QR content to a text field so customer input updates the code automatically
* Reserve clear space (quiet zone) around the QR for scanning
See: QRCode
## Production guardrails
* Define bleed and margins in the Design; don’t rely on users to guess
* For labels, keep critical details clear of corner radii or perforations
* Prefer vector logos; for rasters, use sufficient resolution at final size
* If your workflow needs a specific cut/guide color, standardize it in your template layers
## Scaling your catalog
* Create separate Designs for common shapes/sizes (circle 1.5 in, 2 in; rectangle 2×3 in, etc.)
* Duplicate a master layout and swap brand themes to grow SKUs quickly
* Use Presets to constrain text styles and options for consistency
## Related
* Stickers Generator
* QRCode
* Clipping Masks
* Patterns
* Text Presets
Enable the module in your Design and test with a few example graphics: Stickers Generator.
### Round buttons, coasters, badges
For circular items, use a circle clipping mask for the imprint area.
* Add a visible safe area ring and an outer bleed guide layer
* Keep logos and type fully inside the safe area
* Use patterns or solid fills beneath the mask for easy colorways
### Event giveaways with QR Codes
QRs are useful where space is tight.
* Link to a landing page, coupon, or vCard
* Bind QR content to a text field so customer input updates the code automatically
* Reserve clear space (quiet zone) around the QR for scanning
See: QRCode
## Production guardrails
* Define bleed and margins in the Design; don’t rely on users to guess
* For labels, keep critical details clear of corner radii or perforations
* Prefer vector logos; for rasters, use sufficient resolution at final size
* If your workflow needs a specific cut/guide color, standardize it in your template layers
## Scaling your catalog
* Create separate Designs for common shapes/sizes (circle 1.5 in, 2 in; rectangle 2×3 in, etc.)
* Duplicate a master layout and swap brand themes to grow SKUs quickly
* Use Presets to constrain text styles and options for consistency
## Related
* Stickers Generator
* QRCode
* Clipping Masks
* Patterns
* Text Presets