> ## Documentation Index
> Fetch the complete documentation index at: https://print.app/docs/llms.txt
> Use this file to discover all available pages before exploring further.
# Clipping Masks
> How to create and configure a Clipping Mask
A clipping mask is a Shape that is used to clip an image. When you enable the Clipping Mask option, the image will be clipped inside the shape like a circle, square, or any other shape.
Sample video showing a Clipping Mask
### How to create a Clipping Mask
First, add a shape to the canvas. You can add a circle, square, or any other shape from our Simple Shapes library.
 Alternatively, you can upload you own unique shape by clicking on the Upload button in Graphics tab.
*It has to be to be a simple shape with single continous path.*
Click on the shape to select it, then enable the `Set as Clipping Mask` option from the Object tab on the left side of the Editor.
If you don't see this option, it's most likely your Shape is not a simple shape or it has multiple paths.
 Now, click on either the button or the thumbnail image on the Shape to upload an image into the Clipping Shape.
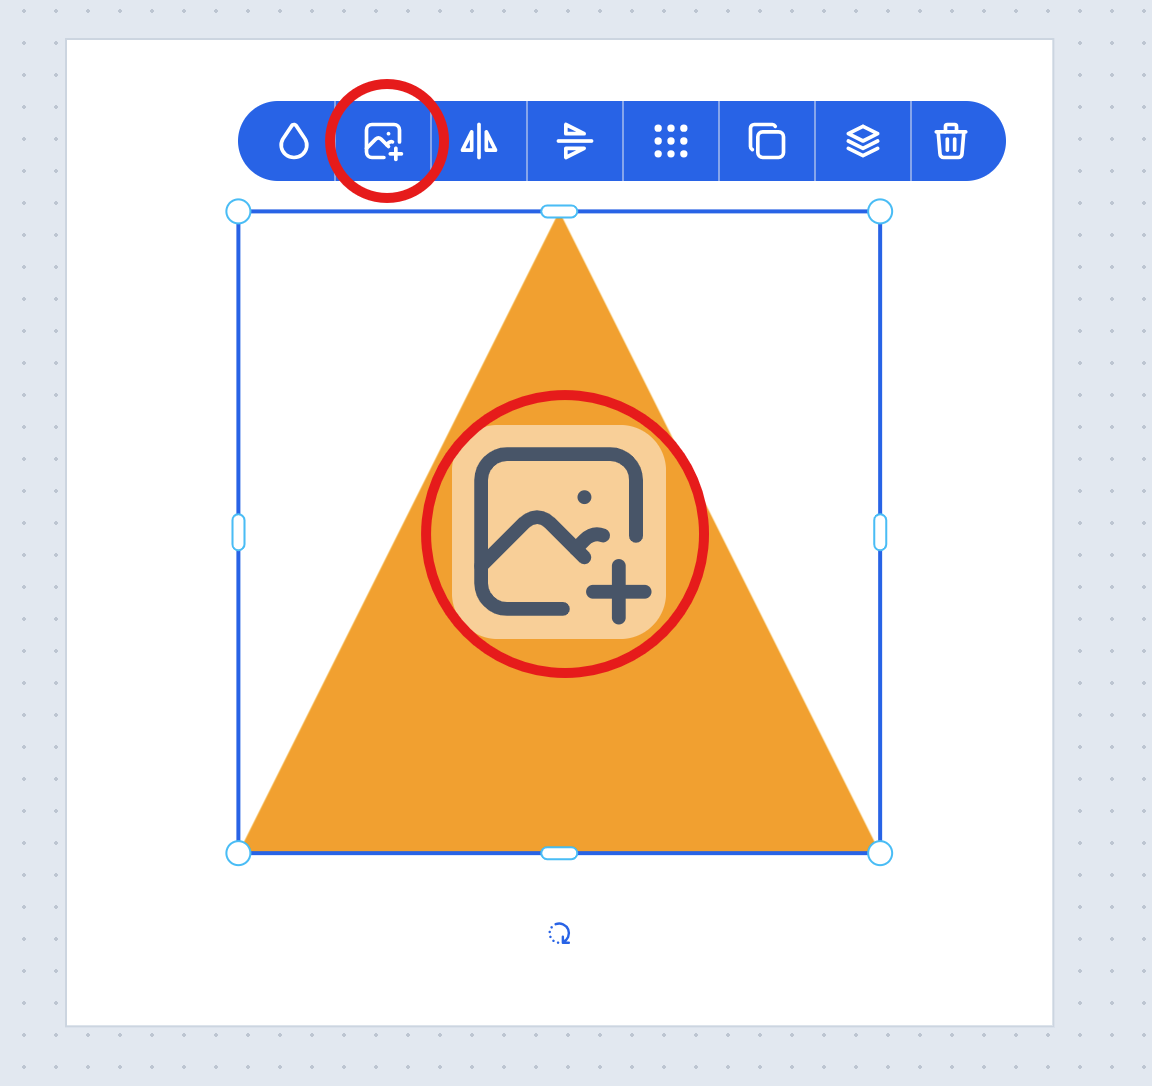 The image will be clipped and positioned inside the shape.
Once you have the image inside the shape, you can use the context Button labelled **Select Group** to toggle between selecting the whole group and selecting the image only. And you can drag to position or scale them.
If you want the image to be resized to fit inside the Clipping Mask, enable the `Fit Photo inside Frame` option from the Object tab.
The image will be clipped and positioned inside the shape.
Once you have the image inside the shape, you can use the context Button labelled **Select Group** to toggle between selecting the whole group and selecting the image only. And you can drag to position or scale them.
If you want the image to be resized to fit inside the Clipping Mask, enable the `Fit Photo inside Frame` option from the Object tab.
This will resize the image to fit inside the shape.