> ## Documentation Index
> Fetch the complete documentation index at: https://print.app/docs/llms.txt
> Use this file to discover all available pages before exploring further.
# Mail Merge
> How to configure Mail Merge module to allow for project variations
Mail Merge lets your customers create a batch of print pages that are personalized for each person.
For example, a company can personalize a single business card with each staff's details and submit it as a single project.
On your end, you get to download a single PDF file with each page showing the same design but with different staff details.
 Mail Merge has two modes:
1. **CSV Upload** - The data records is driven by a CSV or Excel sheet uploaded by your customer
2. **Range Mode** - Records are generated by your customer specifying a number range with a starting value
Mail Merge has two modes:
1. **CSV Upload** - The data records is driven by a CSV or Excel sheet uploaded by your customer
2. **Range Mode** - Records are generated by your customer specifying a number range with a starting value
This is useful for generating products like Marathon Bib numbers.
### How to create Mail Merge Designs
* To get started, load a Design or open one for edit from your [Admin Designs page](https://admin.print.app/designs)
* Click the Design tab on the left panel and then click the `Add Module` button and click Mail Merge from the list.
 * Next, you will see the Mail Merge configuration form as shown below:
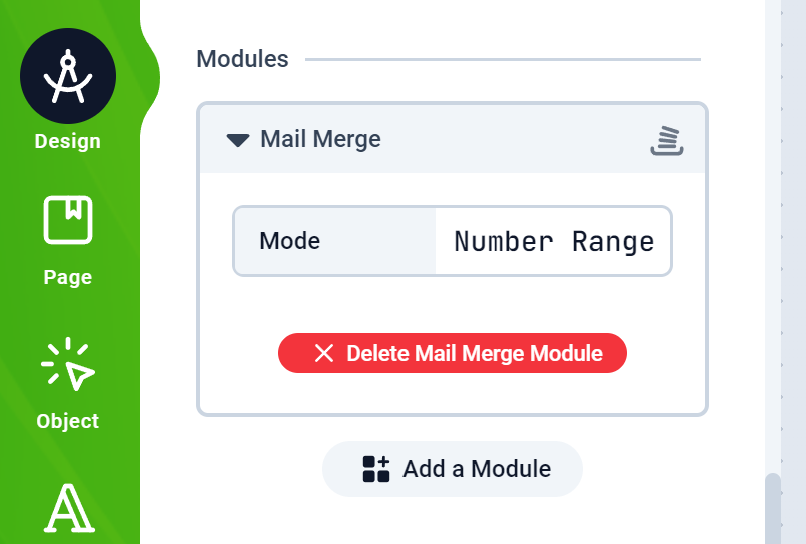 * All you have to do is select the mode and add the Text placeholders to your designs. The Text placeholders are described below
### Range Mode Text Placeholders
The Range Mode generates records using numbers. It presents your customers option to set a starting number and quantity.
To create a placeholder, just add a text with double hash. Anywhere the double hash is encountered, the index number will be inserted.
Eg: `00-##`. The number 234 will replace the ## and render: `00-234`
* All you have to do is select the mode and add the Text placeholders to your designs. The Text placeholders are described below
### Range Mode Text Placeholders
The Range Mode generates records using numbers. It presents your customers option to set a starting number and quantity.
To create a placeholder, just add a text with double hash. Anywhere the double hash is encountered, the index number will be inserted.
Eg: `00-##`. The number 234 will replace the ## and render: `00-234`
 ### CSV Upload Mode Text Placeholders
The CSV Upload mode uses the same template a Datasource does.
You basically create a Smart Text with a title. The title corresponds to a column name in the CSV file.
For example a Text titled `email` will have its content replaced with the corresponding email address value in the CSV record for that row
[Here's a detailed article on how to create Smart Texts](/guides/designs/design-smart)
### CSV Upload Mode Text Placeholders
The CSV Upload mode uses the same template a Datasource does.
You basically create a Smart Text with a title. The title corresponds to a column name in the CSV file.
For example a Text titled `email` will have its content replaced with the corresponding email address value in the CSV record for that row
[Here's a detailed article on how to create Smart Texts](/guides/designs/design-smart)